Monday
Jun042012

Unicorn Cross Stitch

I am so proud of this.  I completed my first cross stitch project, with a design from Grannie Panties on Etsy.  I have to say, this was really easy to do, but it took SO. MUCH. TIME.  Also?  My right hand has been killing me for about 2 weeks now.  I think it’s carpal tunnel from the stitching.  I have a really fancy wrist brace.

I have a unicorn

I totally don’t even care that I’m an old lady and my hand is on fire, I’m stitching this one next.

stitching

I made a few mistakes here and there, but if you can’t see them I’m not pointing them out.  Also, I was only supposed to use 2 strands of thread, and I accidentally used 3.  Whatevs.

rainbow unicorn

Incrediballs.

silver frame

Monday
May142012

Wiksten Tank: Take II

I love my first Wiksten tank so much I couldn’t wait to sew up another one.  I had this really cheapy almost sheer synthetic stuff that I bought during our LA shopping trip that I thought would be perfect for the tank.  It’s much flowier and has a nice drape that I thought would make a nice top.

I wasn’t looking forward to sewing it up since it’s sheer and sort of slippery, but I forged ahead anyway.  I cut the medium again, but added about 1/2” to the neckline since the other tank came so low.

WELL. Guess what? It turns out that I cut the front piece wrong.  The center front is supposed to be on the fold, but I cut the armholes on the fold instead.  GAH.  And?  I only had material for one top — I didn’t have enough fabric to recut the front piece.

Wiksten tank front, no cardigan

So, I had to cut the top on the (armhole) fold, and then seam it up the front.  I don’t love the mess in the front, but I’m ok with it.  And remember how I redrew the front?  Yeah, it actually ended up being the armholes, so they’re slightly snug.

Wiksten tank back

But, I think the fit is great what with taking it in in the front slightly, and I don’t hate the smaller armholes.  Plus, it looks really cute under my cardigan. 

Wiksten tank front

I used store-bought bias tape for the neckline and armholes, and I had enough to use it for the shirt hem, as well.  The material actually sewed up very well although I did have to put some paper under the fabric at the beginning and ending of the seams since it wanted to bunch.  I *really* didn’t want to hem this stuff, though, so the bias tape worked well, and I had just enough to make it work.

I think I may make one or nine more since it’s so easy (just two pieces!) and it’s perfect for warmer weather.

Wednesday
May092012

Silhouette Iron-on Glitter Paper Tutorial

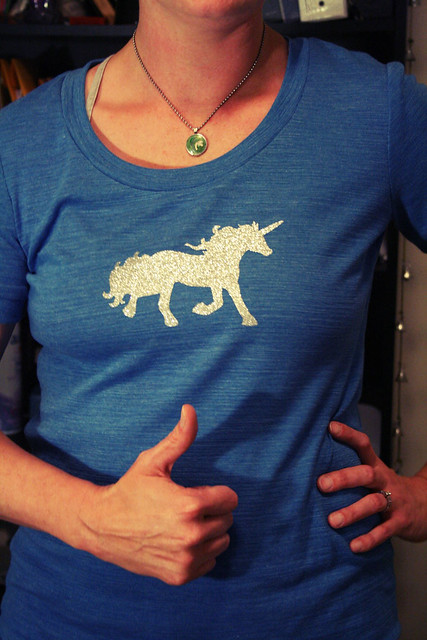
Wahoo!  So, I made another Renfrew short-sleeved top, using some blue knit I got from a street vendor in LA.  $1/yard, you guys.  You can’t beat that with a stick.
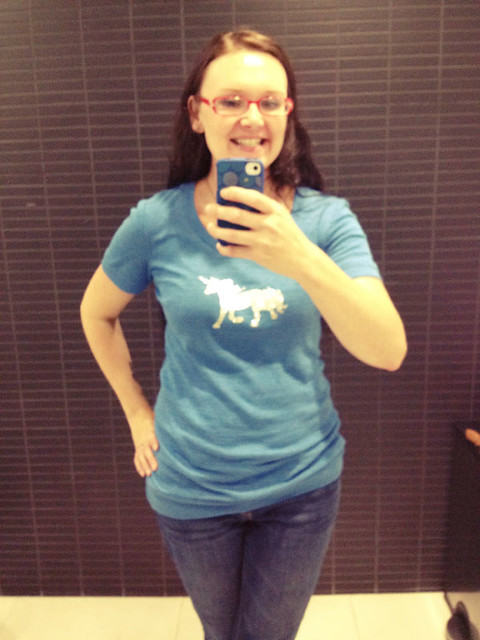
my unicorn Renfrew

I made the size 6 Renfrew again, and graded out the waist slightly.  So. Much. Better.  I also made the band at the waist much wider to accommodate my hips, and I just love it.

Also, our dear friend (we call her AdriAunt) was with me at the store the other day, and found this iron-on glitter transfer paper.  She insisted that the girls (and I!) needed some, so she bought it.  It came with 3 sheets: blue, silver, and pink.  She also bought each of the girls t-shirts to iron onto, because she’s thoughtful like that.

I’ve been on a Silhouette kick lately, so we decided to cut this stuff up with the machine and see what happened.  The first few attempts didn’t turn out so well, so I’m going to show you how I did it, if you want to make your own.
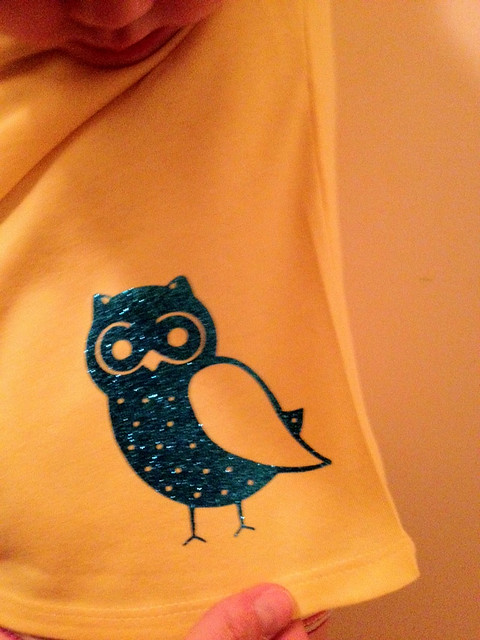
detail

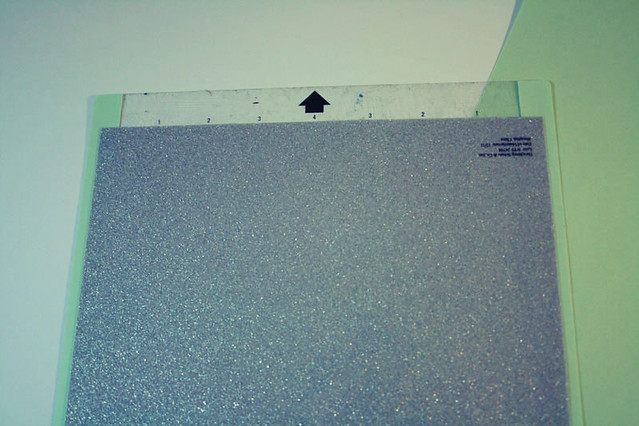
First step is to get out the green carrier sheet.  When you pull out the glitter paper there is a plastic backing on the back, and a thin plastic sheet protecting the front.  Take the front sheet off and throw it away.  Trust me here.
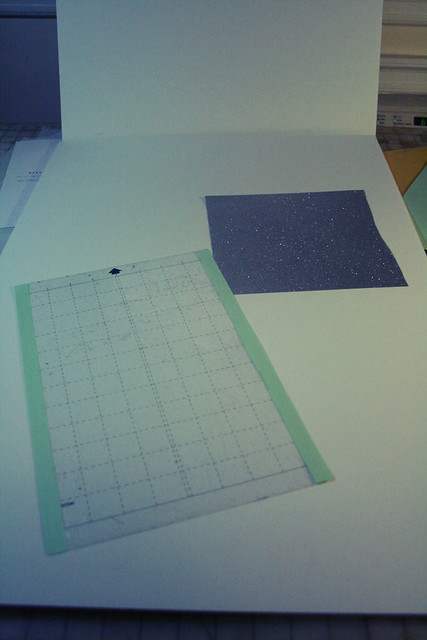
silhouette sheet and glitter paper


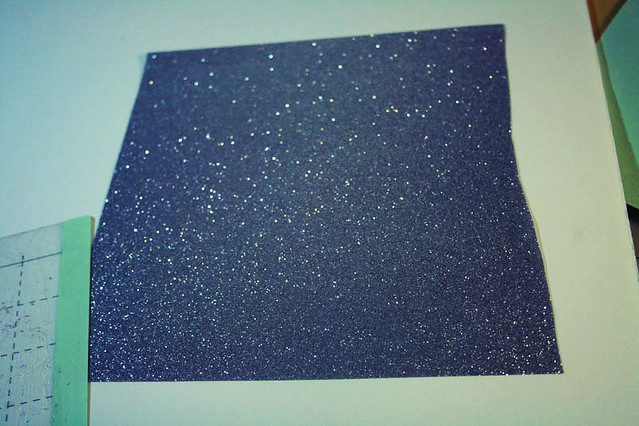
iron-on glitter sheet

Next, place the glitter sheet GLITTER SIDE DOWN on the carrier sheet.  I promise everything will be ok.  
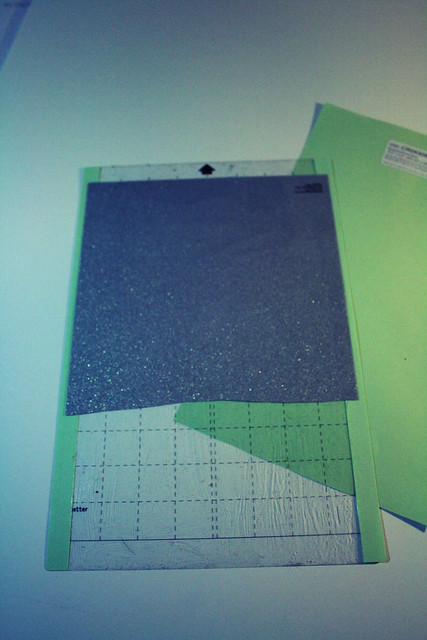
face down on the carrier sheet


Make sure everything is lined up.

like this

Get your design, and then get your Silhouette loaded up.  Here are the settings I used — note that I double cut the design.  That’s very important.  I also used the pink cap when I cut this out.
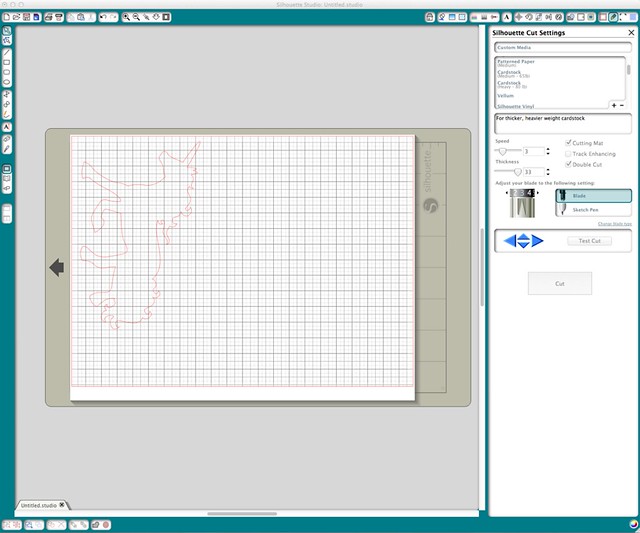
silhouette settings

Note: if you’re using text, you’ll have to mirror the letters.  It’s upside down, so you don’t want your letters backwards!  Unless you do.  In which case, carry on.

Once it’s cut out, peel the design off the carrier sheet, and take the plastic backing off.
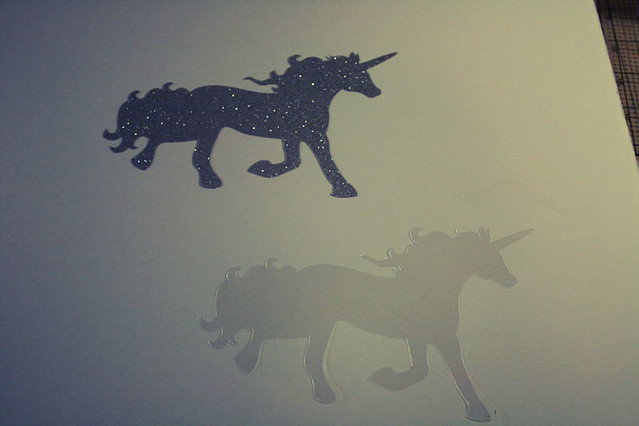
peel off the carrier sheet

Make sure you know which side is up!  The glittery side is up, gluey side is down.  Ask me how I figured this out.
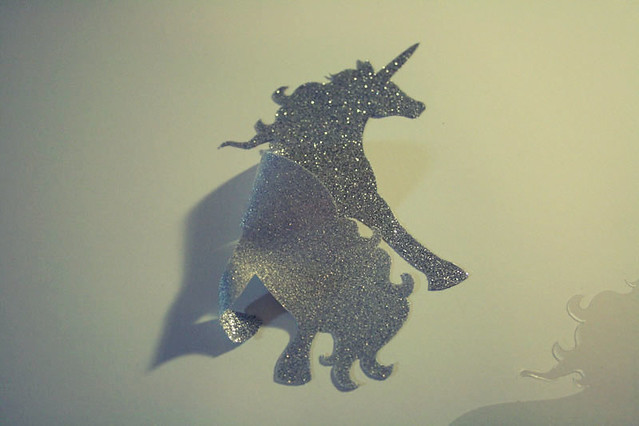
check which side is up

Then position the iron-on transfer where you want it.  I tried my shirt on, and marked where I wanted the unicorn to go.
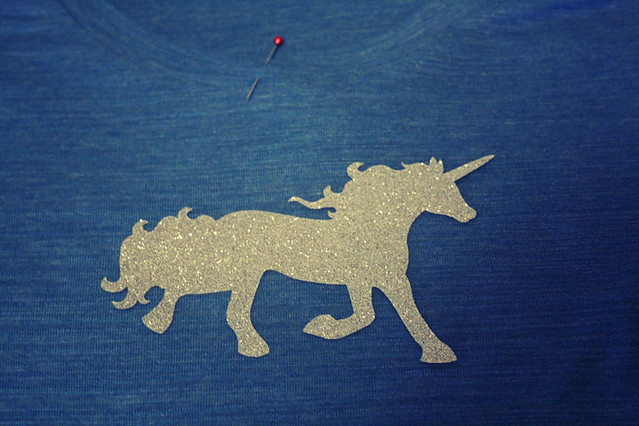
position the transfer

Once it’s on there (glue side down! glitter side up!) then cover with a pressing cloth, or in my case a scrap of fabric, and iron for about 30 seconds on the highest setting your fabric will allow.
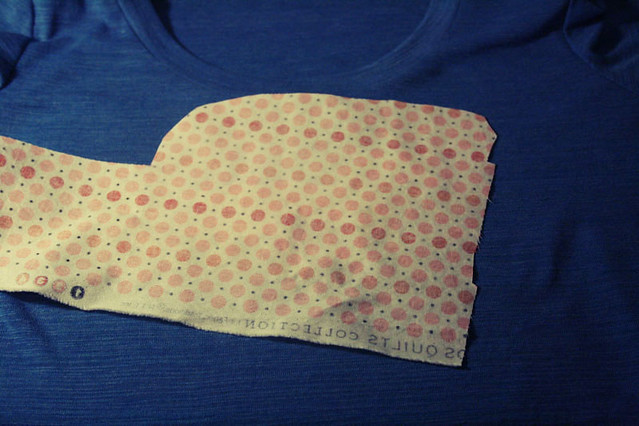
cover and iron

Turn inside out, and iron again for about 15 seconds.
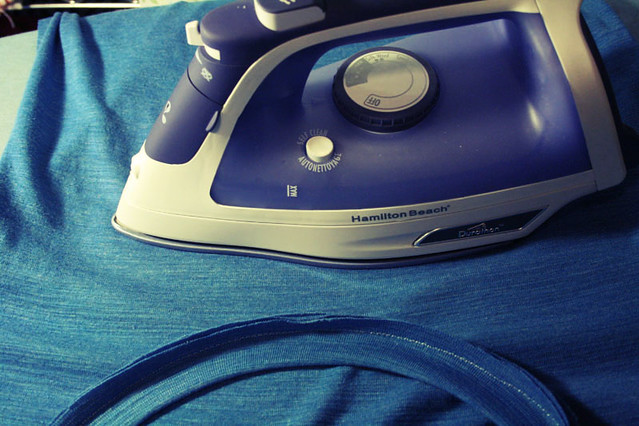
flip inside out and iron again

Check to make sure the edges are all sealed and nice…
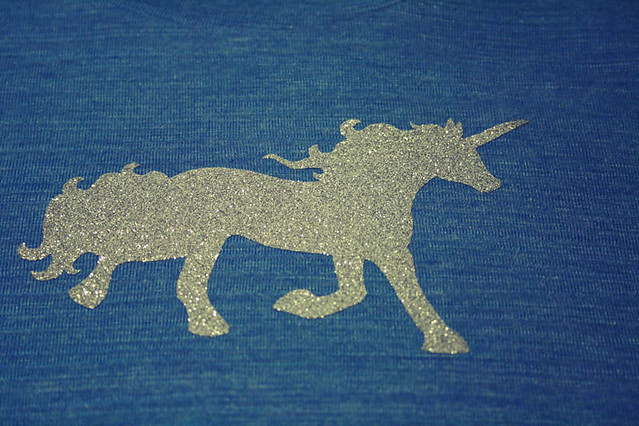
voila

and you’re done!  Magical, no?

magical unicorn shirt

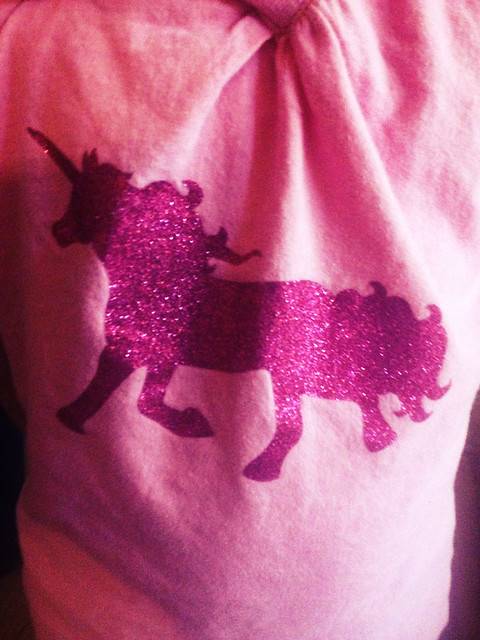
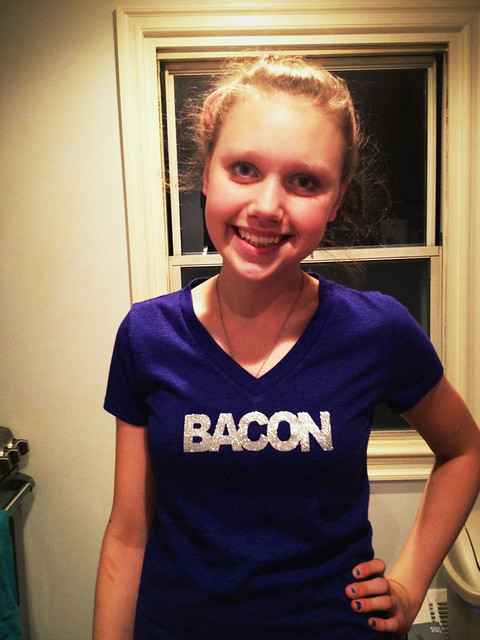
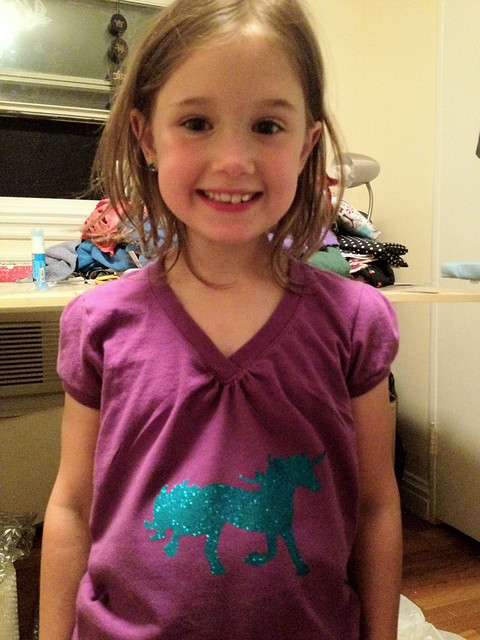
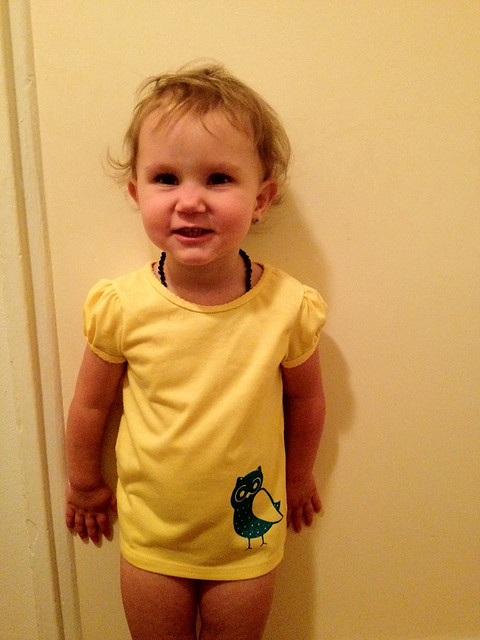
We did unicorns for me, Charlie, and Phoebe.  Thea got an owl, and Belle got BACON across her shirt.  Amazeballs.
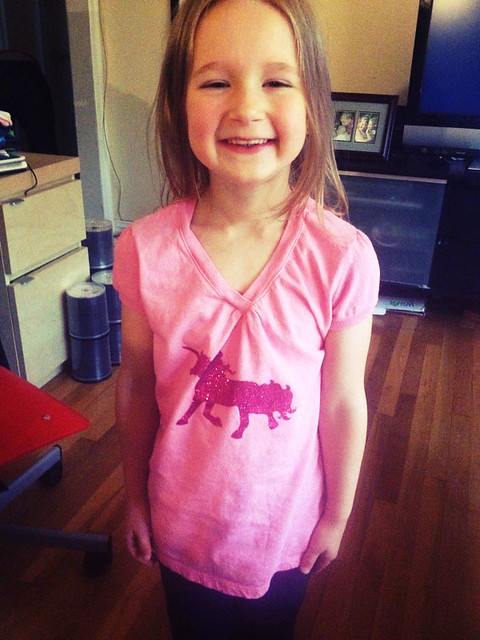
one for Char


closeup


BACON


blue unicorn


owl bébé

Really easy to do, and I like that I can use the Silhouette to get incredibly precise cuts without having to go at that stuff with scissors.  No thank you.

P.S.  Look how long my hair is now!  I actually think I want to cut it all off.  It’s annoying and gets caught on stuff, and one time a woman on the subway actually grabbed a handful of my hair by accident.  Ugh.  But here’s proof that I have super long hair.
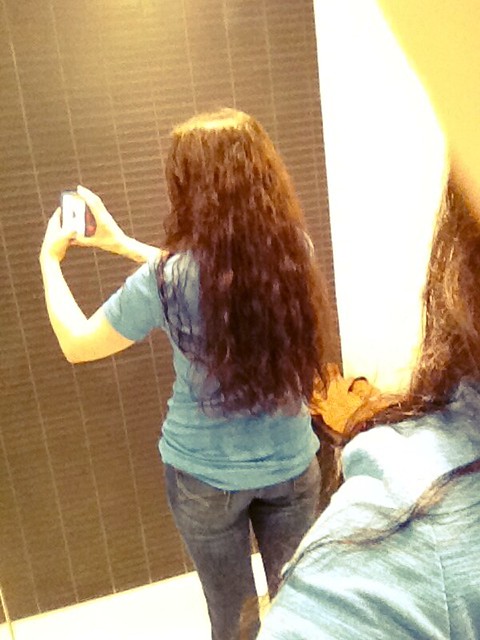
shirt back

The end.

Sunday
May062012
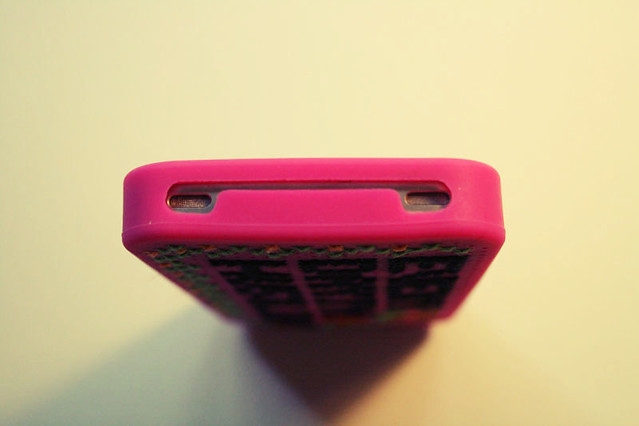
iPhone Cross Stitch

So, you guys.  I was reading Regretsy (do you ever check out that blog?  some super funny and disturbing shizz) and they linked to a cheap-ass cross stitch iPhone case.  $5.  I couldn’t believe it, and I sure as hell couldn’t pass it up.  I also bought some cheapie iPhone cables and wall plugs, because I’m really nice like that.

Anyway, when the case got here I spent the next THREE DAYS trying to come up with a pattern.  I originally bought the pattern from Subversive Cross Stitch here, and it made me sad: the case I had was only 22 stitches wide, and that pattern was too wide to fit on the case I bought.  I thought about putting the pattern on the case sideways, but that would be weird, and the cute little motif would be hard to rearrange.

Instead, I pored through cross stitch charts and Google searches for the Taylor iPhone Cross Stitch case, hoping that someone would have either a) a chart, or b) a free pattern that I could mooch.

I found a few, but none that I loved, and I was really frustrated that I couldn’t just put my own damn text in.  I searched high and low for a stupid program that would help me come up with a design, and I found the free version of MacStitch which I tried to use, but just wasn’t helpful to me.  I guess if you cross stitch a lot it would be useful, but hey! I don’t! So it wasn’t.  

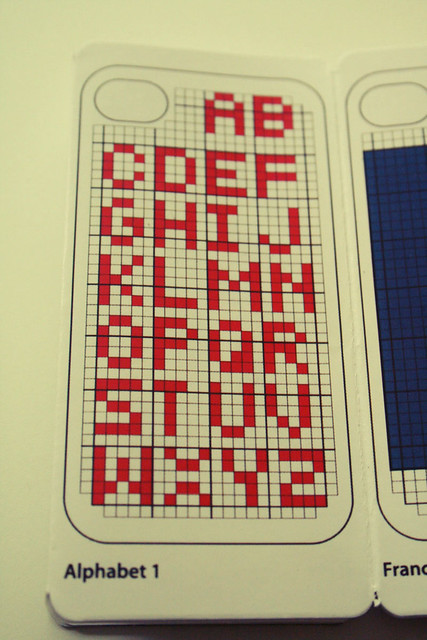
In the end, I printed out some graph paper and used the alphabet chart that came with the case.  I found a really small floral motif and just free-handed the rest of the border.  The case came with some (ugly) charts, and a needle, and 5 colors of floss (red, yellow, green, blue, and black).

The husband just mentioned to me that I could’ve used something like Excel to create the chart.  UGH.  I bet it would’ve been easy as pie, too.  So there’s a tip for you: try Excel.  You’re basically just coloring cells, right?

cross stitch iPhone chart

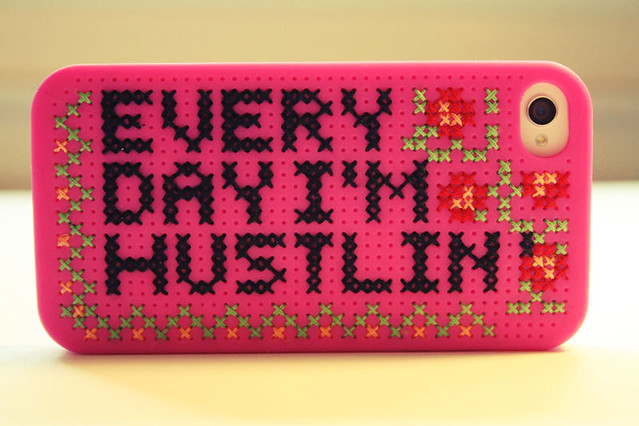
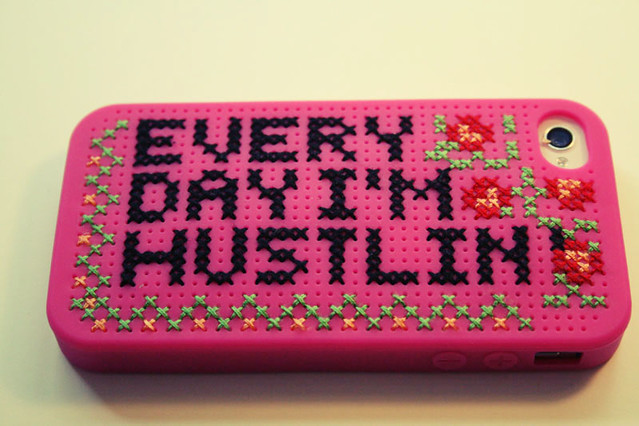
Can I say that I love it?  I mean, I want to lick this thing silly.  Also, while the case itself isn’t top-of-the-line, I think it offers reasonable coverage on the phone and it fits well.

Every day I'm hustlin'

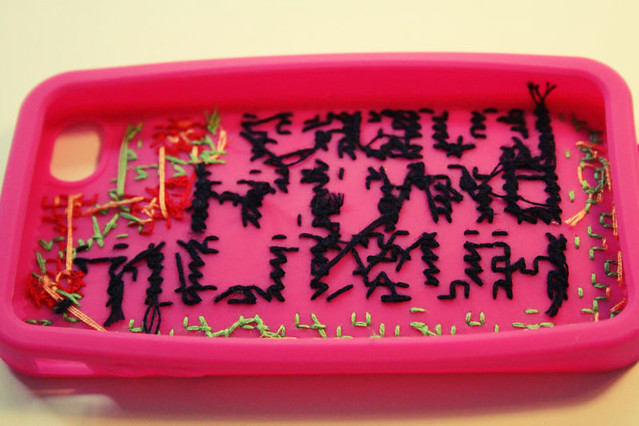
I was really careful to make sure that I didn’t pull the stitching too tightly inside and warp the case.  Also, I like that there are holes instead of a woven-type case.  The holes sealed themselves up after the floss passed through it, and I don’t think I would’ve liked the open weave of the other variety.  It is, after all, a case to protect your phone.  I don’t want holes in mah shizz, y’all.

inside stitching

Now.  Because I’m the nicest person in the WHOLE. WIDE. WORLD.  I’m providing the chart for you to download, if you so desire.  But that’s not all.  I’m also including a free chart with the dimensions of the case, and I blacked out the camera-hole and the rounded edges on the bottom.  So you can print it out and use your own design, if you’re not into the awesomeness that I created.

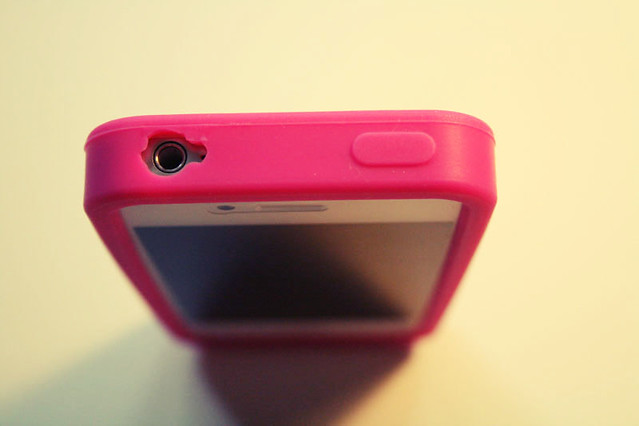
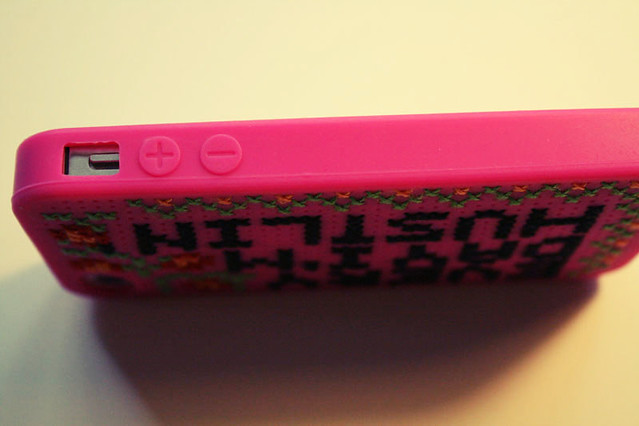
case top


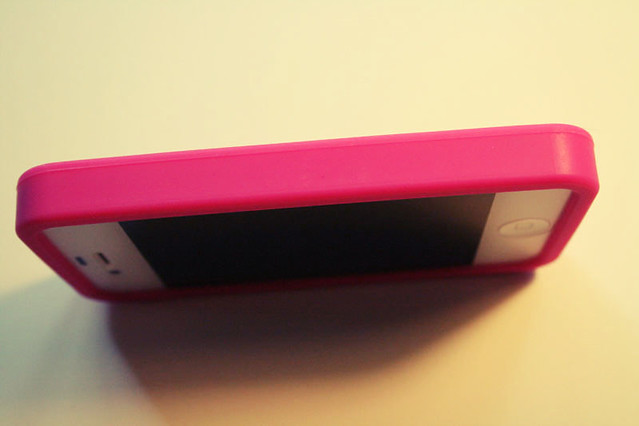
case side


case other side


case bottom


case front

I know.  You’ve probably never had the great joy of knowing someone so selfless, right?  I accept gifts in the form of baked goods and compliments.

xxoo


Download the Hustlin’ chart here

Download the blank chart here

Commence to getting your craft on.

I. Love. It.

Wednesday
May022012
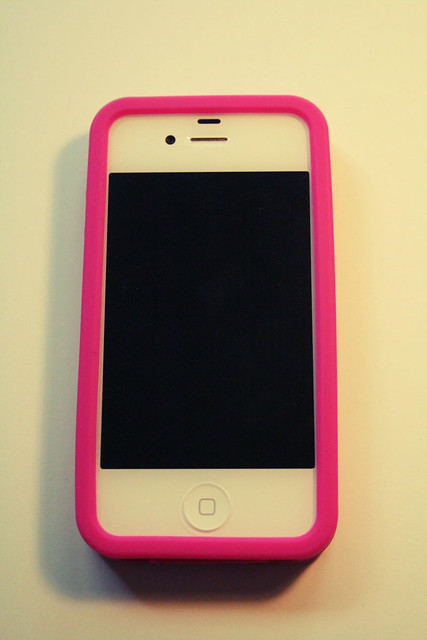
Shirts for meeeeeeeee

Sewing for me is really difficult.  I have a hard time finding patterns that fit me, and since I sew adult sizes, if things don’t work out that’s a LOT of fabric and time and effort wasted.  Plus it crushes my hopes and dreams and makes me want to punch butterflies.

So when I sew for myself I tend to stick to things that are simple and/or that I’ve researched really well and think have a 95% (or better!) chance of success.  Namely, I’m boring and stick to the basics.  Whatevs.

I had seen this Renfrew pattern floating around the internet and decided that it looked cute enough on every person that’s made it that it would be safe for me to give it a try.  Based on my measurements, the pattern called for me to make a size 10, 12, or 14.

Yikes.

I originally made the size 12, and graded it out to a 14 at the waist.  (Bearing 4 children and getting old has not been kind to my mid-section).  Also, while I wouldn’t go so far as to say I have BDD, I do have issues with my perceived size.  So I figured better safe (and large) than sorry.

The top turned out very well, but way too big.  Like, wayyyyy too big.  So I took a RTW shirt I had, and matched it up to the pattern pieces.  Based on a shirt I already had, the size 6 was almost exact.  Oh jesus.

I made the size 6 instead, holding my breath the whole time.  Annnnnnd, it fits.  I don’t have a waist, so while the pattern comes in at the waist a little it makes me uncomfortable.  I’ll be making another one in some cheap blue knit I got in LA, and drawing the waist out so it’s simply straight.  But, I’m glad it fits and looks cute.

Renfrew

Next up I saw the Wiksten tank pattern for download, and had to have it.  There’s something about the loose-fitting tank that can be worn under a cardigan that I love love love.  I made it one evening when I came home from work and it was easy and fun.

happy me!


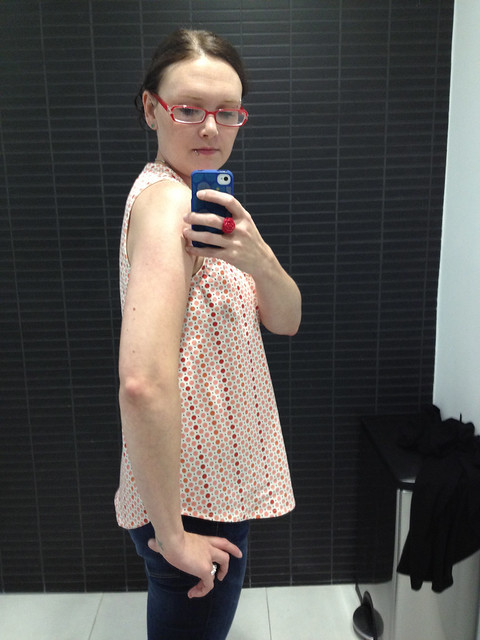
side view

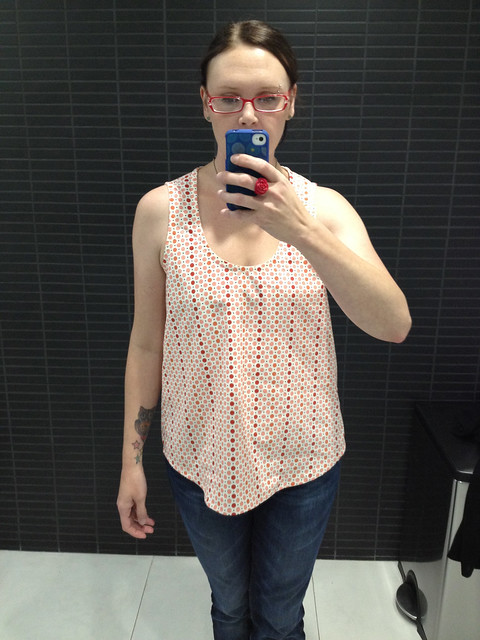
I sewed up the size Medium based on my bust measurement, but I think I can go to a small.  I know it’s supposed to be loose, but the armholes are too big and the front dips down too low for my taste.  OMG you guys, I had no idea I was such a prude.

front, no cardigan

I feel good that I was able to make a few things for myself that turned out reasonably well, that I really really like, with some simple patterns that I know I’ll make over and over.  

YAY ME.

Page 1 ... 4 5 6 7 8 ... 94 Next 5 Entries »