
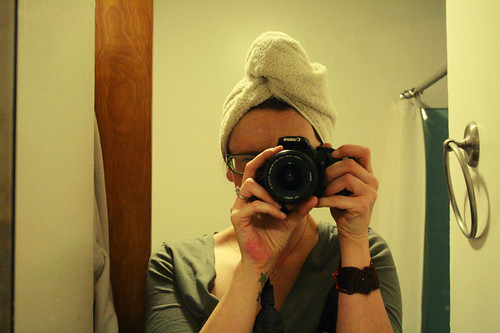
Hair Towel Tutorial!
A long time ago my mom got me a hair towel for my birthday or something, and I love it so much that I copied the pattern and made myself several more. They’re really easy and quick to make up, using a hand towel as the starting point.
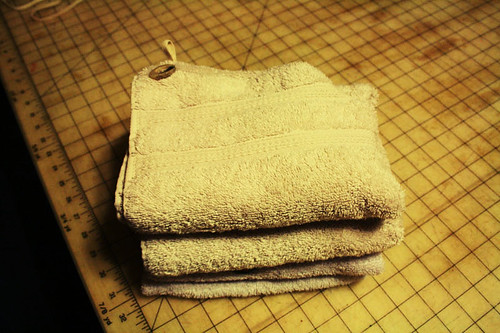
I found some hand towels on sale for 50 cents each, and bought several. Because I’m smart. And because that’s how much I love these things. I like that they’re smaller than a regular towel so they don’t flop all over the place, and there’s elastic in the back to secure it so it doesn’t fall off. Also, it saves using 2 towels after my shower.
My hair is really long, but it’s pretty thin. If you have long/thick hair you could use a bath towel as a starting point instead, and just make your towel longer.
I’ve made a sketch of the pattern and you can download it here if you want. It’s a rough-ish sketch, but includes a 3/8” seam allowance. It’s a guideline so you at least have the general shape — it’s easily modifiable if your towel is longer/shorter or you use a bath towel instead.
(When you print it out make sure that you print page 1 and check the 1” test box to make sure it measures 1” — you may have to remove the scaling option in your print settings to get the correct size).
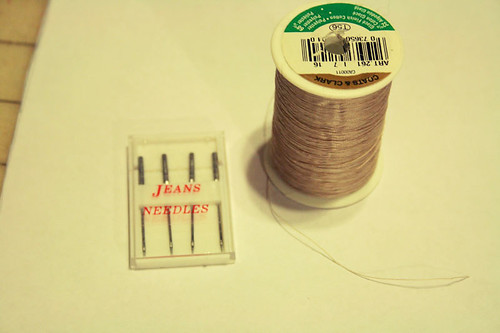
Supplies needed:
Hand towel
Sturdy thread in a corresponding color
Heavy duty denim or jeans needle
3.5” of 1/4” wide elastic
1 button, approximately 3/4” or so wide
PDF pattern/guide
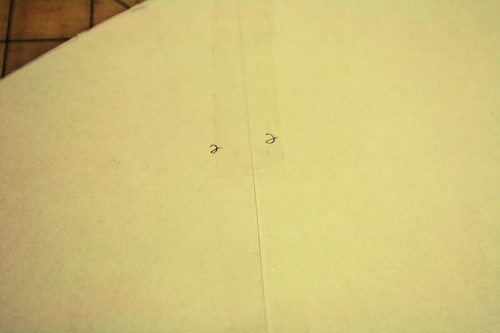
Step 1
Print out and assemble the pattern pieces. There are 3 pages, meant to be placed exactly next to each other (no overlap). Match the numbers and tape the pages together.
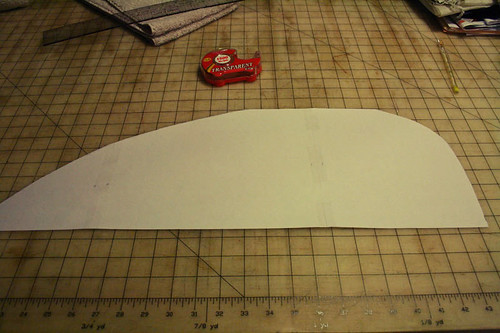
Step 2
Cut out pattern.
Step 3
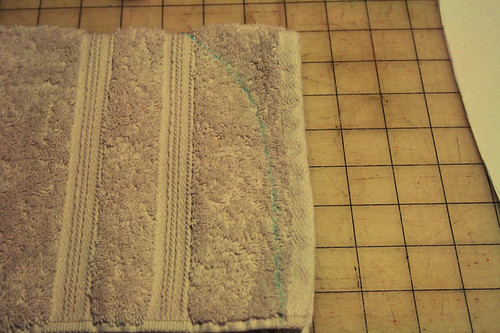
Fold the hand towel lengthwise, inside out, matching up finished edges.

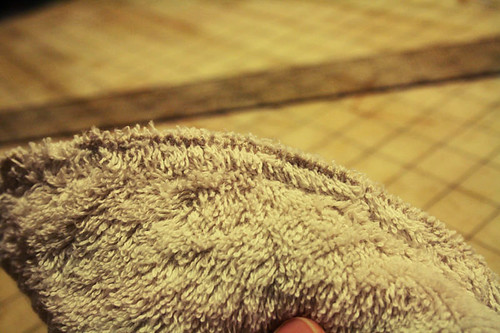
If you have a decorated hem/edge, you may want to place this at the top so it’s visible when you’re wearing the hair towel.
Step 4
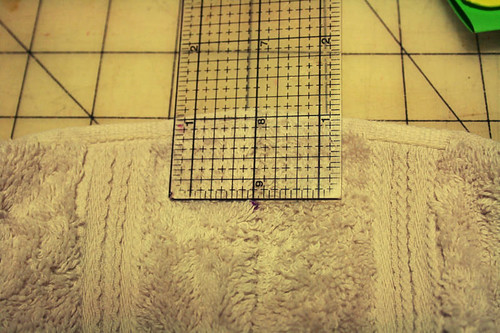
Trace the pattern onto the towel. Lay the pattern so that the long straight edge matches up with the finished edges of the towel.
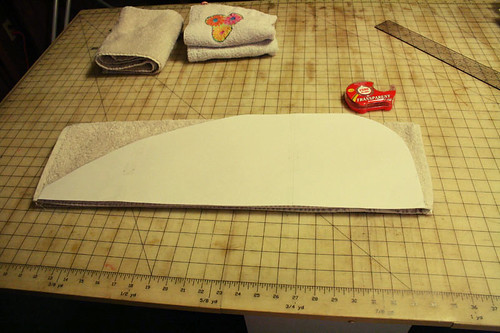
You’ll see that the pattern is a little wider than my towel, so I ignored the overlap and traced around it.
Step 5
Cut along the marked lines.
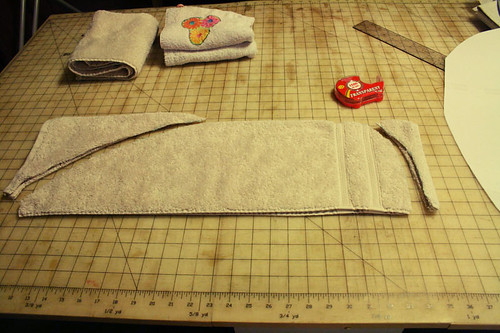
Step 6
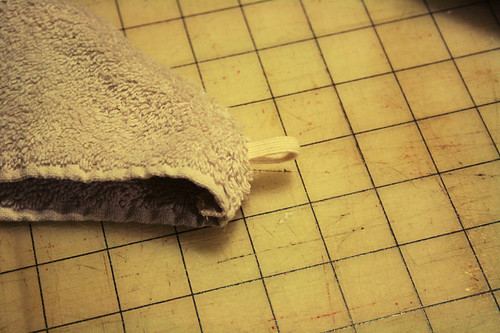
Cut 3.5” of 1/4” wide elastic. Fold in half. Open the towel, and pin the elastic between the two pieces, along the straight bottom edge.
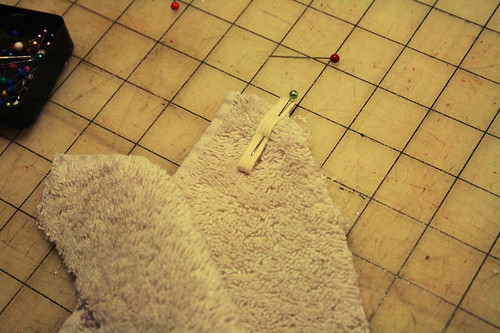
Step 7
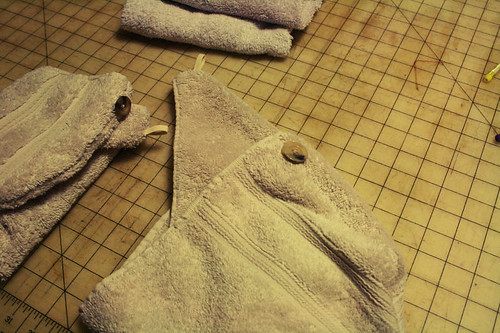
Stitch cut edges together using a heavy duty needle, making sure to catch elastic at the bottom of the towel between both towel pieces.
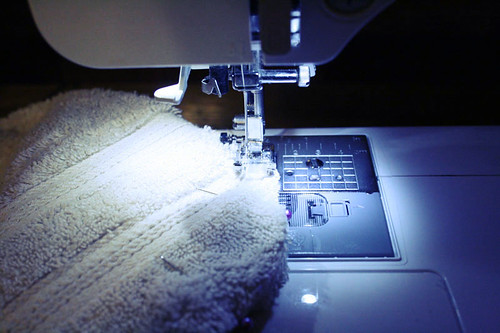
After using a straight stitch, go back over the cut edges using a zig zag stitch to prevent the towel from fraying.
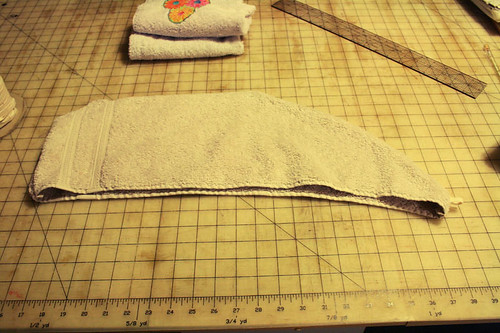
Turn right side out. This is what it should look like when you’re finished.
Step 8
Along the top of the towel (the wide, curved edge) mark 1” down on the seam line. This is where your button will go.
Center the button on the seam line, and stitch the 3/4” button to the towel, using your machine (or by hand). Make sure it’s really secure on the towel.
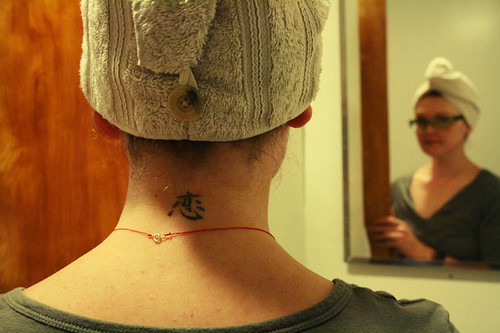
And… that’s it! All done. Super easy, right?
Place it on your head, twist once or twice, and then bring the end back and loop the elastic around the button to keep it in place.
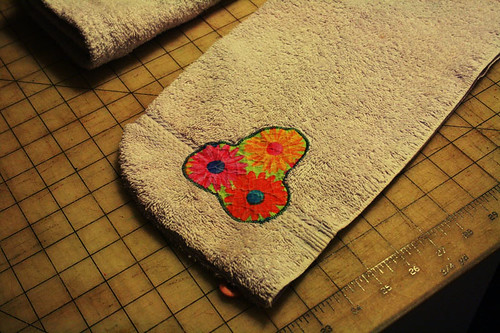
You can also add rickrack or an applique if you want to be fancy, or you’re making this as a gift.
If you make one please leave a link in the comments so I can check it out. :)
Also, you can click here to download a printer friendly version of these instructions, if you’re so inclined. Am I thoughtful or what, right? If anything’s not clear, or you have any questions, shoot me a message and I’m happy to help.
 Crafts

Reader Comments