Wrap Skirt Tutorial
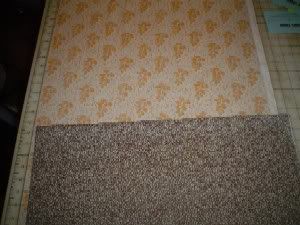
For personal use only.1. Start with some fabric. I'm using two different fabrics. You can use 2, or 3, or 57, if you want. How much you need depends on your panel size, number of panels, and how long you want your skirt. For reference, I think I used about 2 yds. of each material.
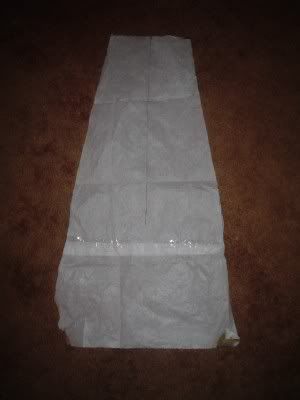
2. Pattern piece (this you have to figure out for yourself). I will tell you that I use a trapezoid shape, where the bottom is roughly twice the width of the top (maybe a little more). Depending on how "wrappy" you want your skirt, you can measure yourself, determine how many panels you want, etc. You'll have to take in consideration adding seam and hem allowances. My finished measurements for the skirt are: waist 59", hem width: 125", and length from waistband to hem: 29". You know there are 8 panels, so if you want to do that math, be my guest.
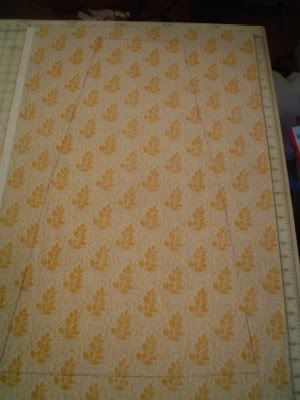
3. Fold your fabric in half, selvage to selvage, right sides together. Trace your pattern out (taking care to note if the fabric has a directional pattern or not) and cut. You should have 2 trapezoid pieces. For an 8 panel skirt (like the one I made) you do this twice per fabric, for a total of 8 pieces. Naturally.
4. I didn't take a picture of the waistband facing/ties, because I didn't think it was necessary. You can make the waistband as wide or as narrow as you want. I start out with a strip of material 4" wide. You'll have to cut several strips and sew them together, making sure you press your seams open. I like having long ties, but if you want them shorter I recommend you make the ties longer than you think you need to, and cut them down after you have them pinned to the skirt. It would suck to have to add pieces on later. For reference, my waistband is 59" wide, and my ties extend approximately 42-43" on each side of the skirt, so my waistband facing, total, is 145" long.
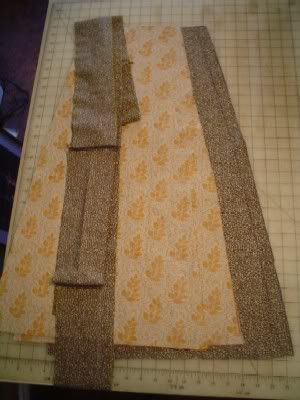
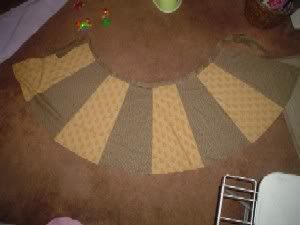
5. Here are my 8 panel pieces, and my waistband piece.
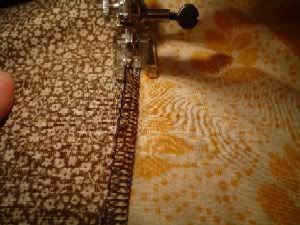
6. Take two panel pieces, right sides together, and serge. If you don't have a serger, you can just stitch with a regular machine (make sure you press the seams open after you stitch).
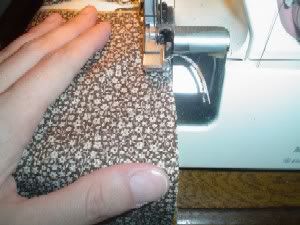
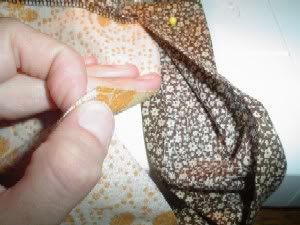
7. If you serged the seam, and want to topstitch, press the seam to one side, and stitch it down.
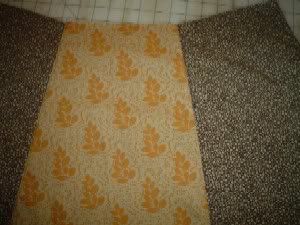
8. Continue stitching the panels together, alternating colors, and topstitching each one as you go. Take care, if you're topstitching, to press the seams in the same direction (like all to the left, or all to the right) to make sure you don't end up with wacky topstitching. Here is mine all stitched together (right side).
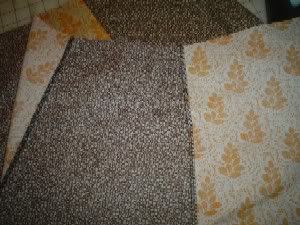
9. All stitched together (wrong side).
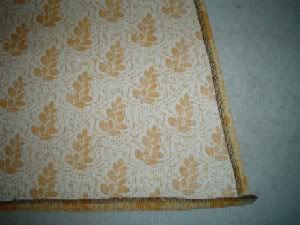
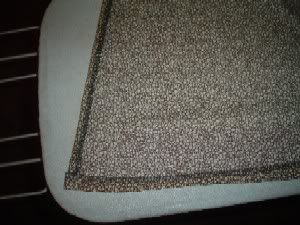
10. Serge the hem, and the two outer edges of the skirt. Fold each side in about 1/4", and press. Turn up the hem about 1/4" to 1/2", and press. If you'd like, you can do a narrow hem on each side, and a traditional hem on the bottom (fold it up, press, fold it up again, press). I do the sides first, then the bottom, so there's a neat corner at each edge.
Side A:
Side B:
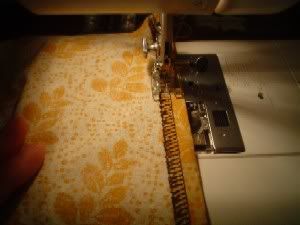
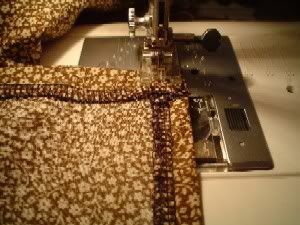
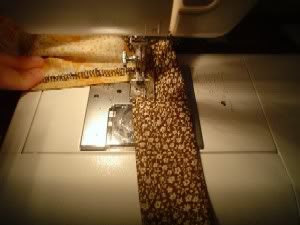
11. Starting from the top edge, stitch down the seam, continuing along the bottom, and back up the other side. I do it all at once, but if you want you can do the sides first, and then go back and stitch the bottom.
From the top:
Turning from the hem back up the other side:
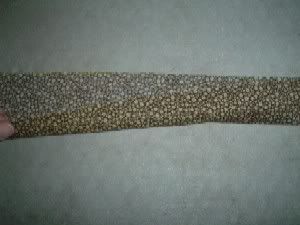
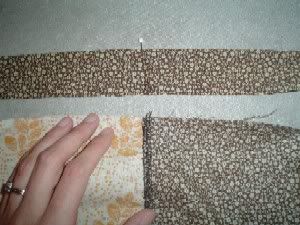
12. The skirt's done for now, so we're going to do the waistband next. I take my strip, wrong sides together, and press it in half. This is kind of an unnecessary step, but I like seeing where the middle is, and I find that it's easier to work with if it's pressed nice and flat.
13. Open up your waistband, right side down, and press up the bottom about 3/8", all the way down the strip.
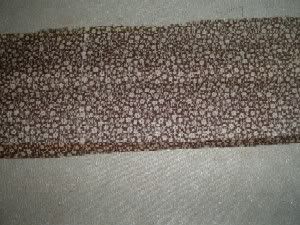
14. Flip it over, and do the same thing to the other side.

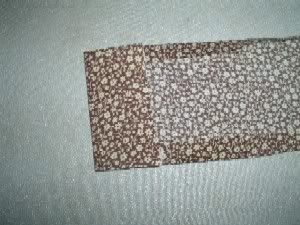
15. Fold each end over about 1" and press.
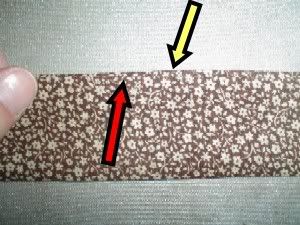
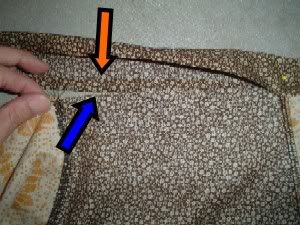
16. Press the strip in half. I don't do it *exactly* in half. I let one edge stick out a little eensy bit, so the edges don't quite match. I do this so that when I'm stitching it on, I know I'm catching both edges at the same time. You can see in the pic that the front (red arrow) is a little lower than the back (yellow arrow).
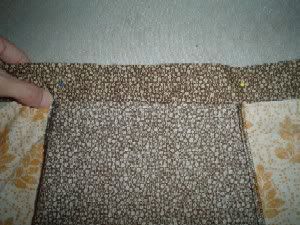
17. Find the center of your waistband (fold in half and mark with a pin). Match it to the center of your skirt (if you did an even number of panels, like 8, you can just count the panels, or you can fold the skirt in half and mark the center with a pin). Line up the waistband center with the skirt center. When I do this part, I put the waistband piece so that the longer side is on the outside, and the shorter side is on the inside. You can reverse that (longer on the inside, shorter on the outside), if you intend to stitch your skirt with the right side facing you as you sew (whereas I sew it with the inside facing me as I sew).
18. Lay the top of the skirt into the waistband piece. I match the raw edge of the skirt to the raw edge of the waistband piece (the little 3/8" piece that was folded up). I tried to illustrate with colored arrows.
19. I pin at each panel seam. You can pin wherever you want.
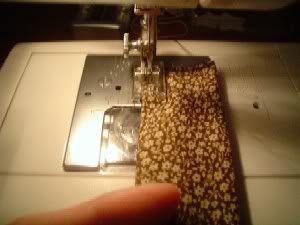
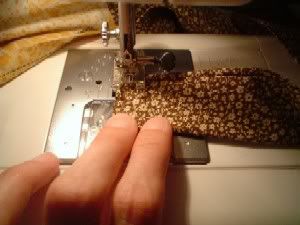
20. Starting from the edge of the tie, stitch it down, pivot, and continue stitching along the bottom of the waistband piece.
21. When I get to where the skirt is attached, I continually lift up the waistband to check the panel placement, to make sure the raw edge of the skirt is matched to the raw edge of the waistband. You want to make sure it doesn't slide in the waistband piece too far, or your skirt will be uneven.
22. Keep stitching, all the way down.
23. Pivot and turn, stitching the end of the tie closed.
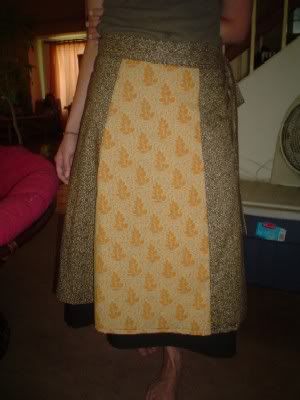
24. Now iron that sucker, the waistband and ties, the hem and side seams, the panels, everything. Then, lay it out on the floor and marvel in its beauty. Take a look at your floor, and make a mental note that the living room needs picked up and vacuumed.
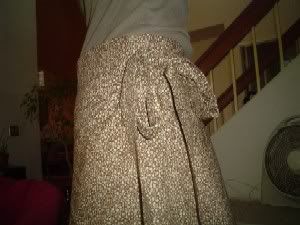
25. This is how I wear it (to tie on the side): wrap it around you so the left side wraps under the right side, and pull it snugly.

26. Wrap right side across your front, and bring the left side tie around your back, to meet at your left hip (or thereabouts).

27. Tie the ties together in a bow. Alternatively, you could hold the ties in your hands all day, but that might get boring.
28. Super!
The end! If you have any questions, or need something explained further, feel free to e-mail me.
As a reminder (and I can't stress this enough) this pattern is for personal use only -- do not sell skirts made from this pattern. Danke.