
Silhouette Iron-on Glitter Paper Tutorial
Wahoo! So, I made another Renfrew short-sleeved top, using some blue knit I got from a street vendor in LA. $1/yard, you guys. You can’t beat that with a stick.
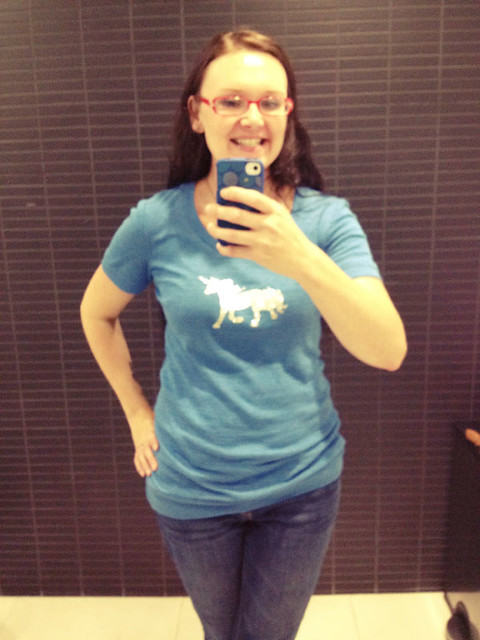
I made the size 6 Renfrew again, and graded out the waist slightly. So. Much. Better. I also made the band at the waist much wider to accommodate my hips, and I just love it.
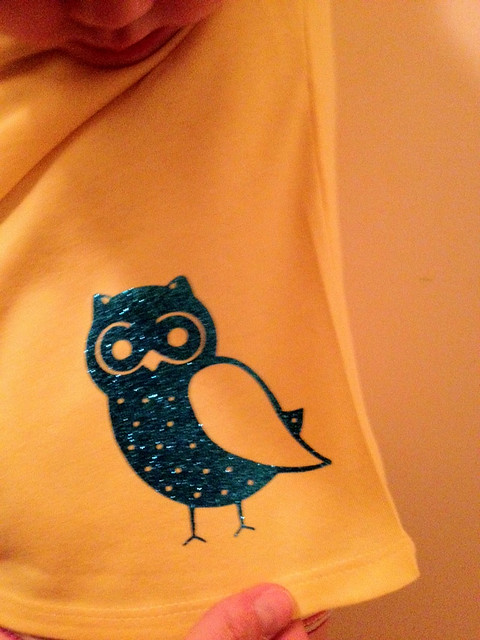
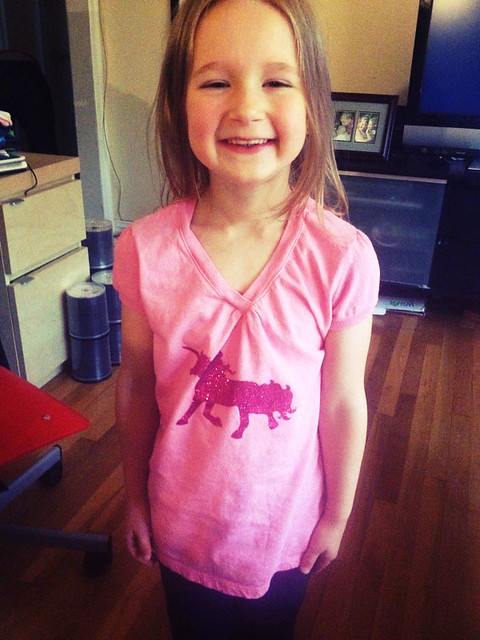
Also, our dear friend (we call her AdriAunt) was with me at the store the other day, and found this iron-on glitter transfer paper. She insisted that the girls (and I!) needed some, so she bought it. It came with 3 sheets: blue, silver, and pink. She also bought each of the girls t-shirts to iron onto, because she’s thoughtful like that.
I’ve been on a Silhouette kick lately, so we decided to cut this stuff up with the machine and see what happened. The first few attempts didn’t turn out so well, so I’m going to show you how I did it, if you want to make your own.
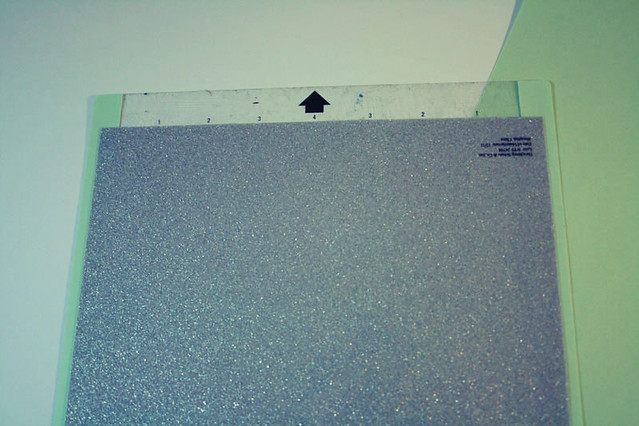
First step is to get out the green carrier sheet. When you pull out the glitter paper there is a plastic backing on the back, and a thin plastic sheet protecting the front. Take the front sheet off and throw it away. Trust me here.
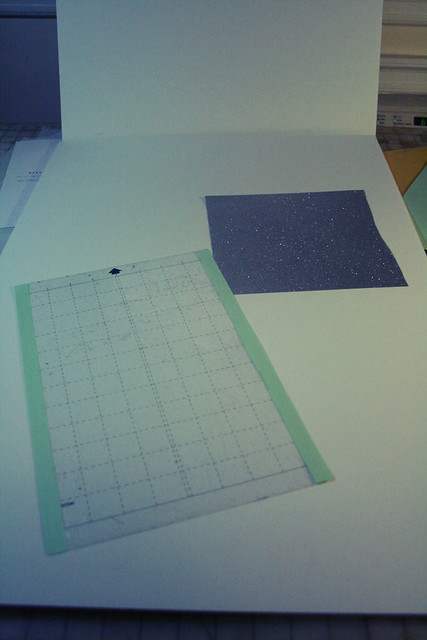
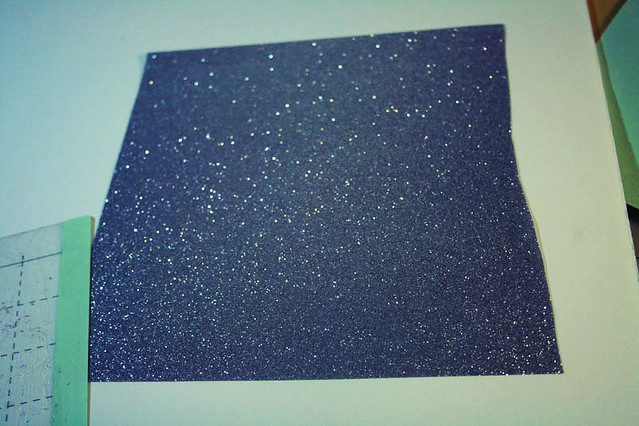
Next, place the glitter sheet GLITTER SIDE DOWN on the carrier sheet. I promise everything will be ok.
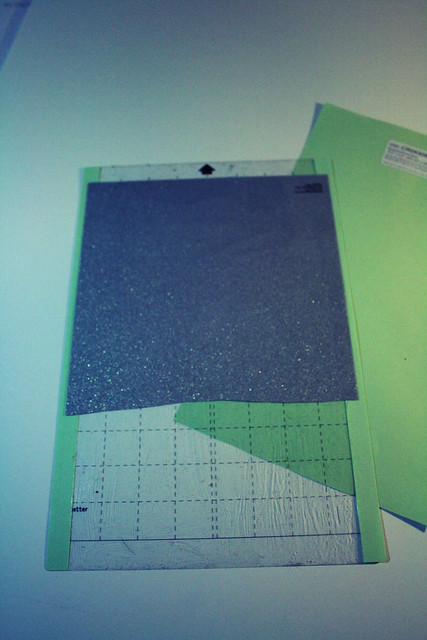
Make sure everything is lined up.
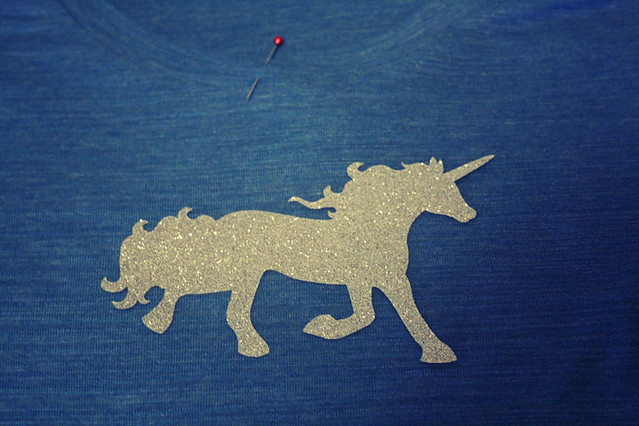
Get your design, and then get your Silhouette loaded up. Here are the settings I used — note that I double cut the design. That’s very important. I also used the pink cap when I cut this out.
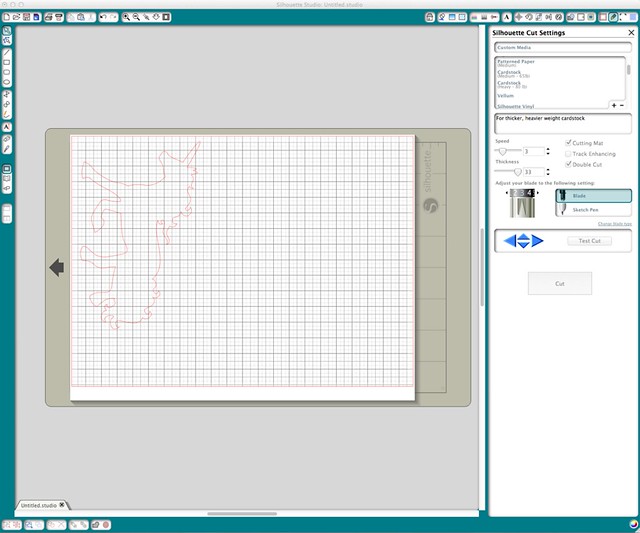
Note: if you’re using text, you’ll have to mirror the letters. It’s upside down, so you don’t want your letters backwards! Unless you do. In which case, carry on.
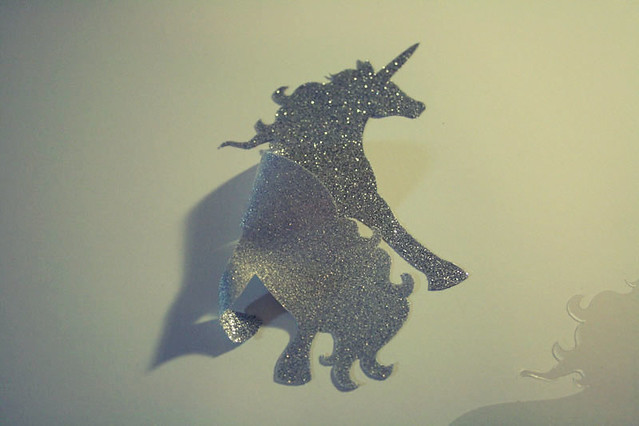
Once it’s cut out, peel the design off the carrier sheet, and take the plastic backing off.
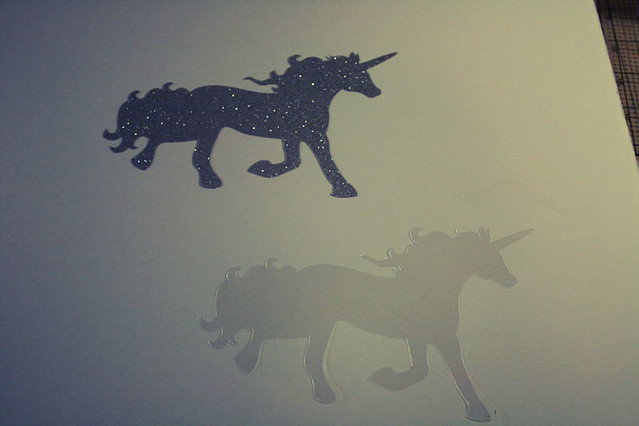
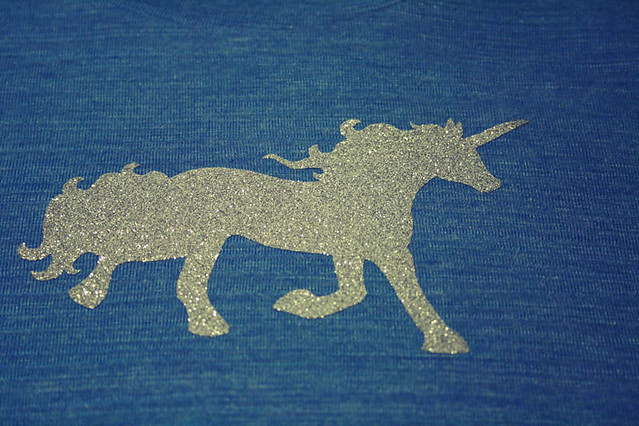
Make sure you know which side is up! The glittery side is up, gluey side is down. Ask me how I figured this out.
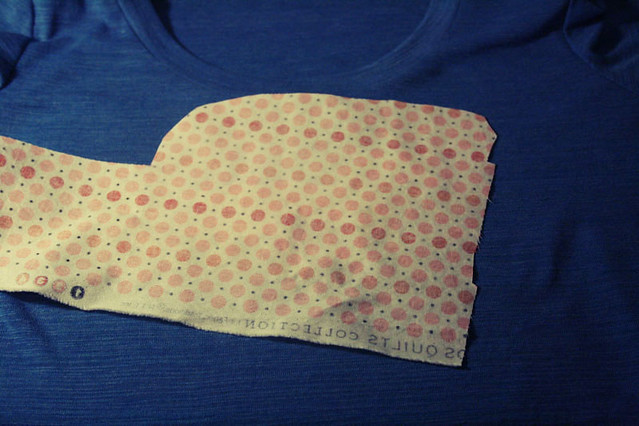
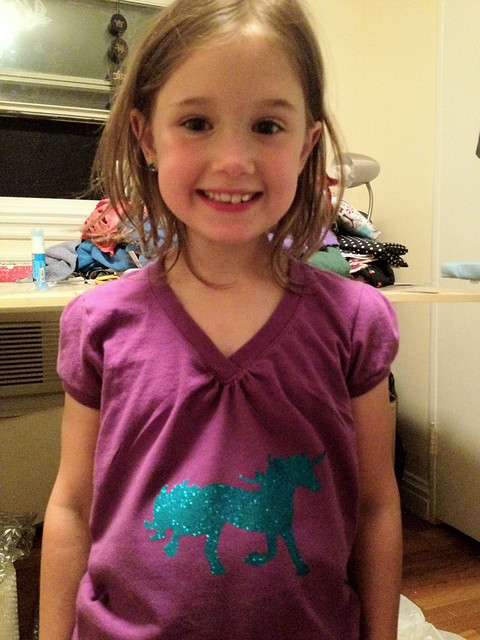
Then position the iron-on transfer where you want it. I tried my shirt on, and marked where I wanted the unicorn to go.
Once it’s on there (glue side down! glitter side up!) then cover with a pressing cloth, or in my case a scrap of fabric, and iron for about 30 seconds on the highest setting your fabric will allow.
Turn inside out, and iron again for about 15 seconds.
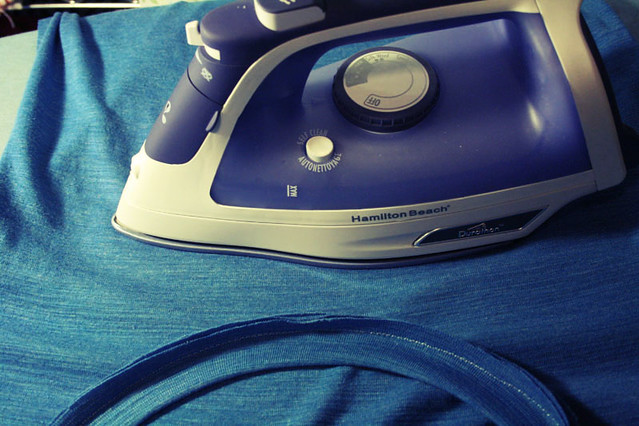
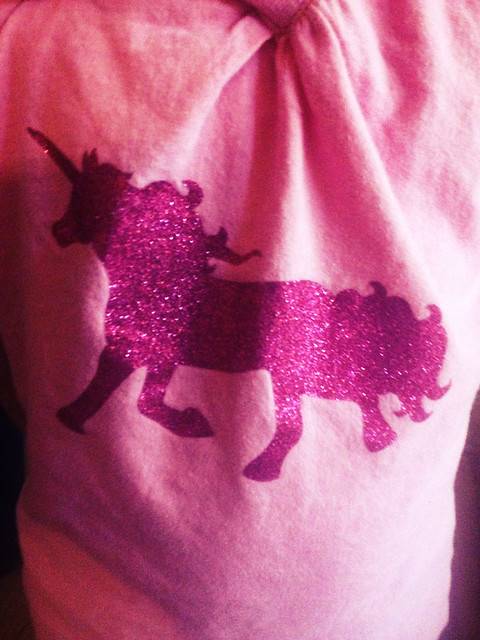
Check to make sure the edges are all sealed and nice…
and you’re done! Magical, no?
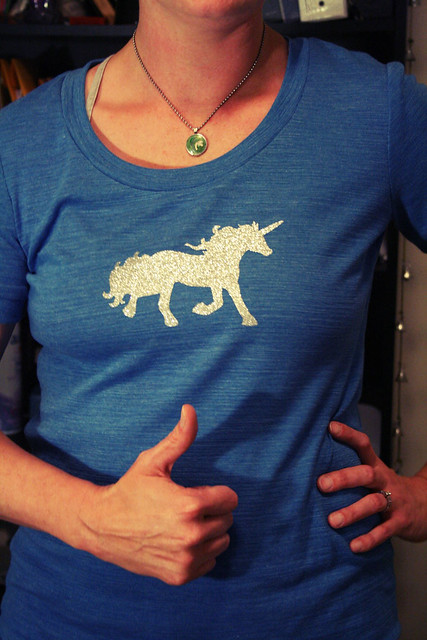
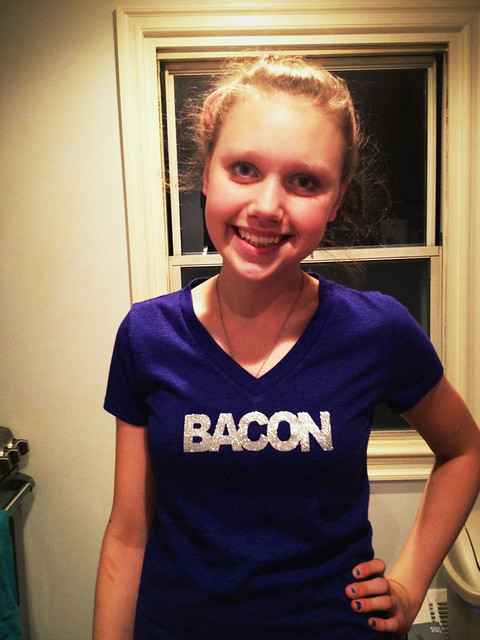
We did unicorns for me, Charlie, and Phoebe. Thea got an owl, and Belle got BACON across her shirt. Amazeballs.

Really easy to do, and I like that I can use the Silhouette to get incredibly precise cuts without having to go at that stuff with scissors. No thank you.
P.S. Look how long my hair is now! I actually think I want to cut it all off. It’s annoying and gets caught on stuff, and one time a woman on the subway actually grabbed a handful of my hair by accident. Ugh. But here’s proof that I have super long hair.
The end.
 Crafts

Reader Comments (1)
I love how this post goes "Hey, here's how you do this really cool thing, and also? Look at my great hair!" Hilarious. Don't cut it, just look on Pinterest for interesting ways to wear it up! Yeah!