Entries in Crafts (86)

Wednesday
May092012

Silhouette Iron-on Glitter Paper Tutorial

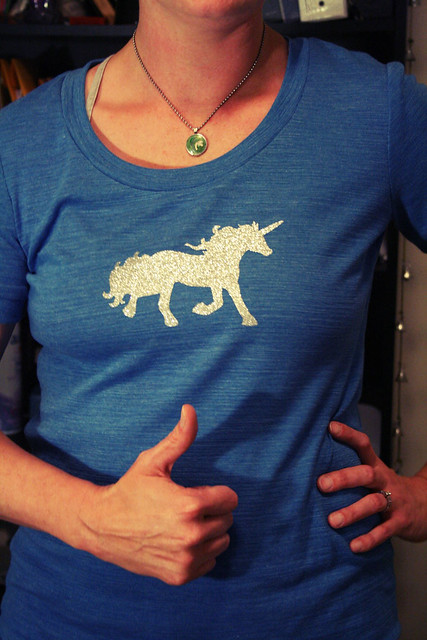
Wahoo!  So, I made another Renfrew short-sleeved top, using some blue knit I got from a street vendor in LA.  $1/yard, you guys.  You can’t beat that with a stick.

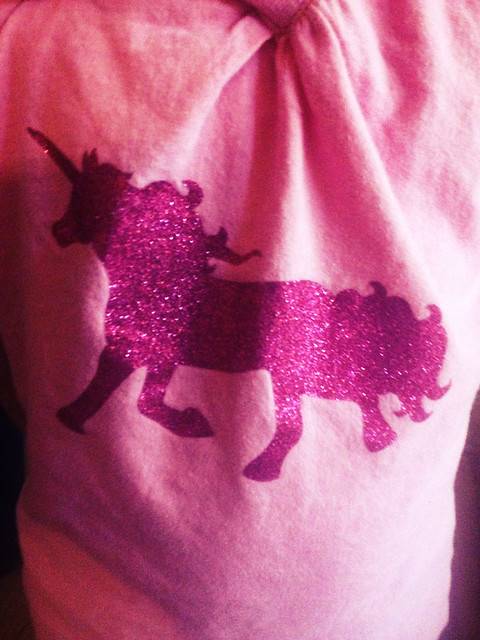
my unicorn Renfrew

I made the size 6 Renfrew again, and graded out the waist slightly.  So. Much. Better.  I also made the band at the waist much wider to accommodate my hips, and I just love it.

Also, our dear friend (we call her AdriAunt) was with me at the store the other day, and found this iron-on glitter transfer paper.  She insisted that the girls (and I!) needed some, so she bought it.  It came with 3 sheets: blue, silver, and pink.  She also bought each of the girls t-shirts to iron onto, because she’s thoughtful like that.

I’ve been on a Silhouette kick lately, so we decided to cut this stuff up with the machine and see what happened.  The first few attempts didn’t turn out so well, so I’m going to show you how I did it, if you want to make your own.

detail

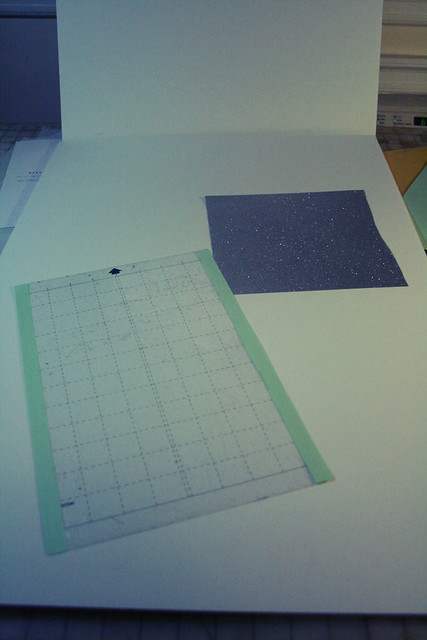
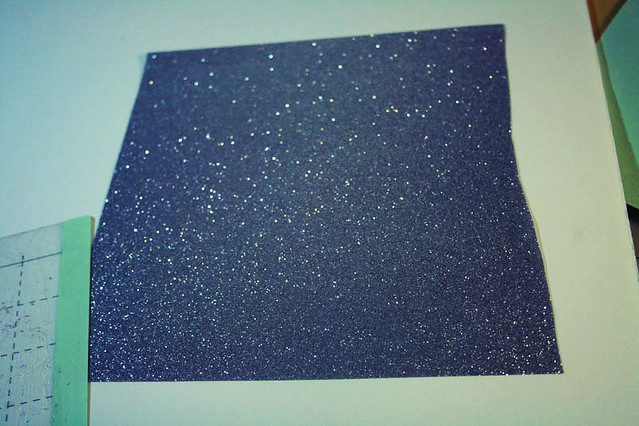
First step is to get out the green carrier sheet.  When you pull out the glitter paper there is a plastic backing on the back, and a thin plastic sheet protecting the front.  Take the front sheet off and throw it away.  Trust me here.

silhouette sheet and glitter paper


iron-on glitter sheet

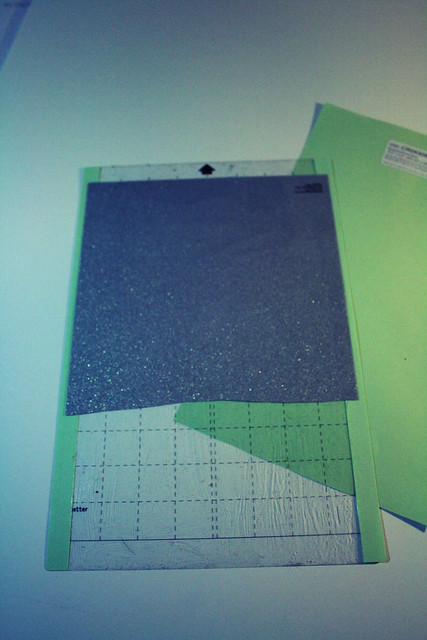
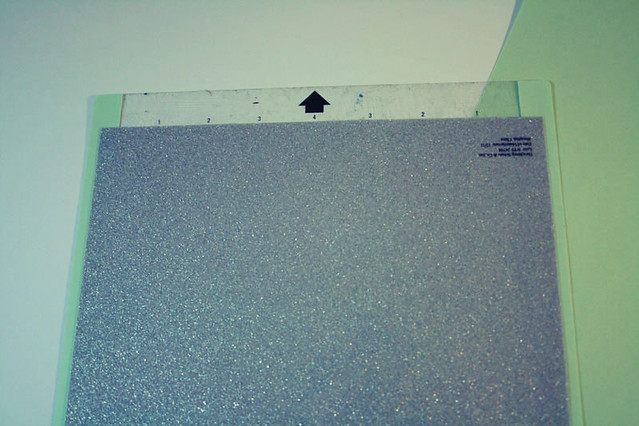
Next, place the glitter sheet GLITTER SIDE DOWN on the carrier sheet.  I promise everything will be ok.  

face down on the carrier sheet


Make sure everything is lined up.

like this

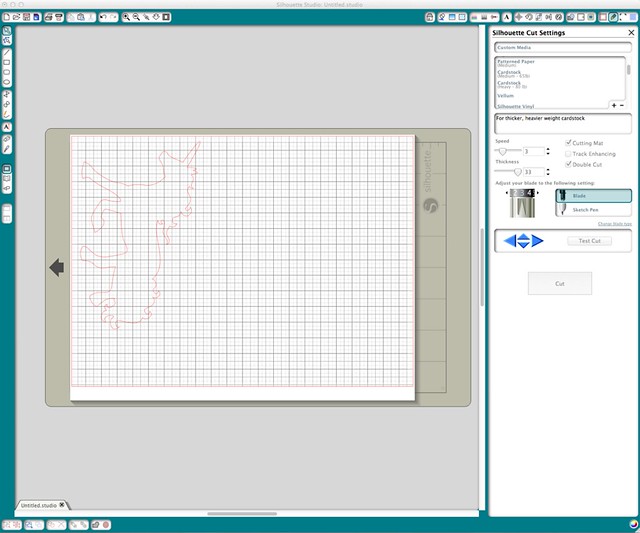
Get your design, and then get your Silhouette loaded up.  Here are the settings I used — note that I double cut the design.  That’s very important.  I also used the pink cap when I cut this out.

silhouette settings

Note: if you’re using text, you’ll have to mirror the letters.  It’s upside down, so you don’t want your letters backwards!  Unless you do.  In which case, carry on.

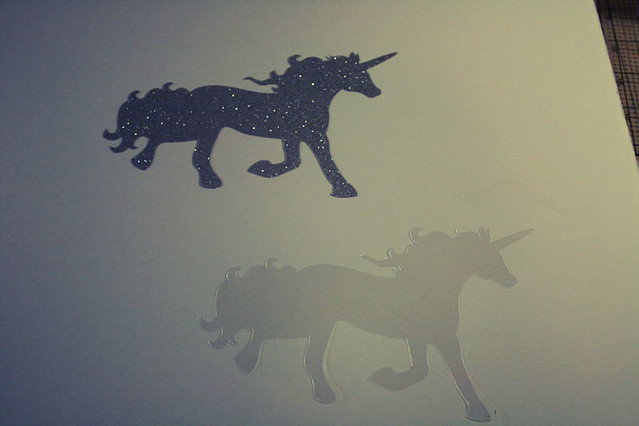
Once it’s cut out, peel the design off the carrier sheet, and take the plastic backing off.

peel off the carrier sheet

Make sure you know which side is up!  The glittery side is up, gluey side is down.  Ask me how I figured this out.

check which side is up

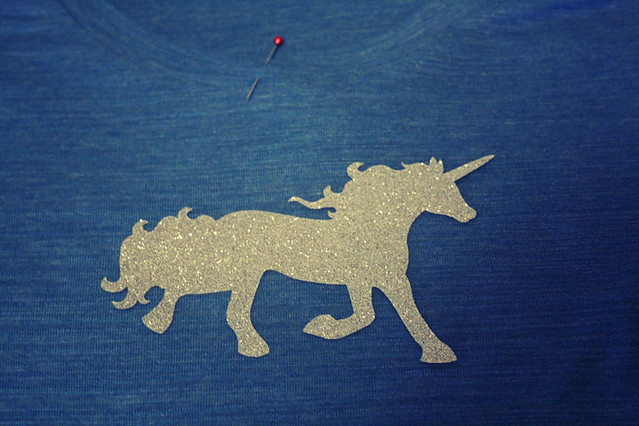
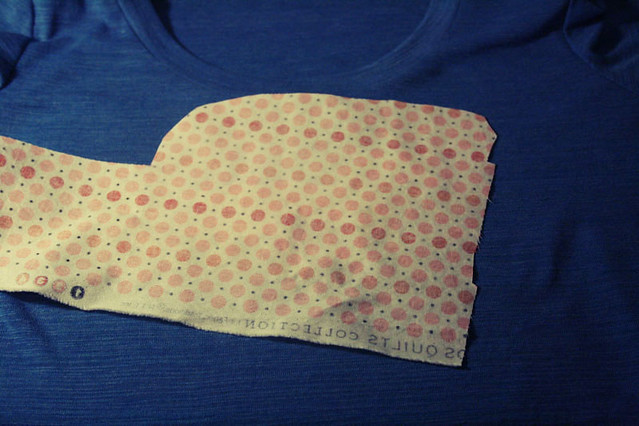
Then position the iron-on transfer where you want it.  I tried my shirt on, and marked where I wanted the unicorn to go.

position the transfer

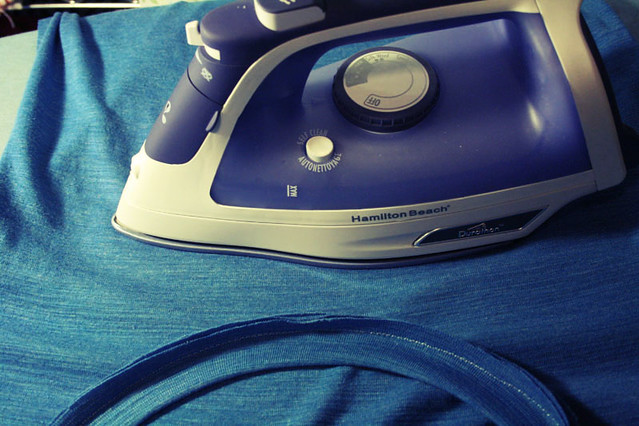
Once it’s on there (glue side down! glitter side up!) then cover with a pressing cloth, or in my case a scrap of fabric, and iron for about 30 seconds on the highest setting your fabric will allow.

cover and iron

Turn inside out, and iron again for about 15 seconds.

flip inside out and iron again

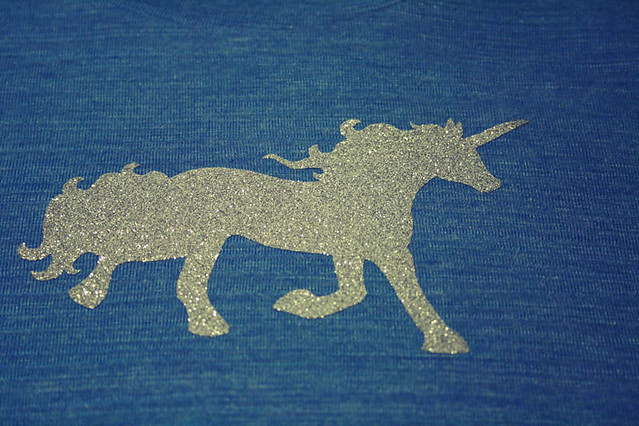
Check to make sure the edges are all sealed and nice…

voila

and you’re done!  Magical, no?

magical unicorn shirt

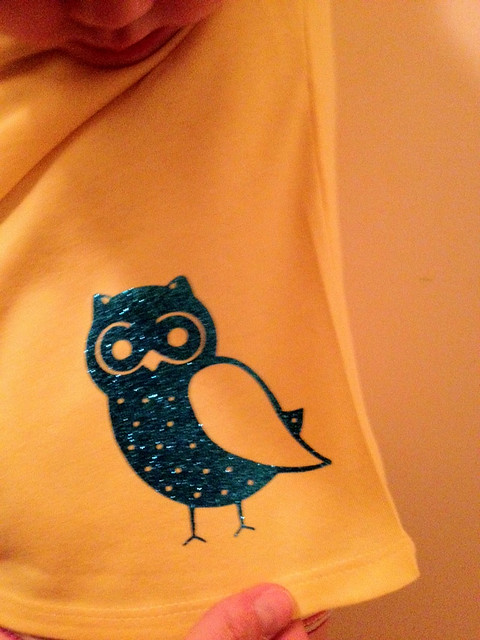
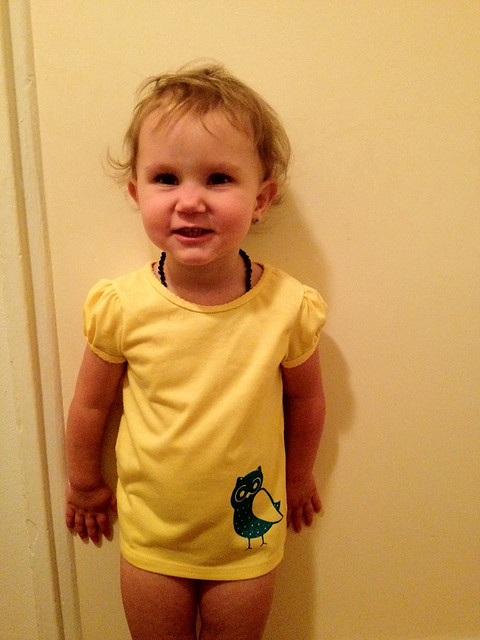
We did unicorns for me, Charlie, and Phoebe.  Thea got an owl, and Belle got BACON across her shirt.  Amazeballs.

one for Char


closeup


BACON


blue unicorn


owl bébé

Really easy to do, and I like that I can use the Silhouette to get incredibly precise cuts without having to go at that stuff with scissors.  No thank you.

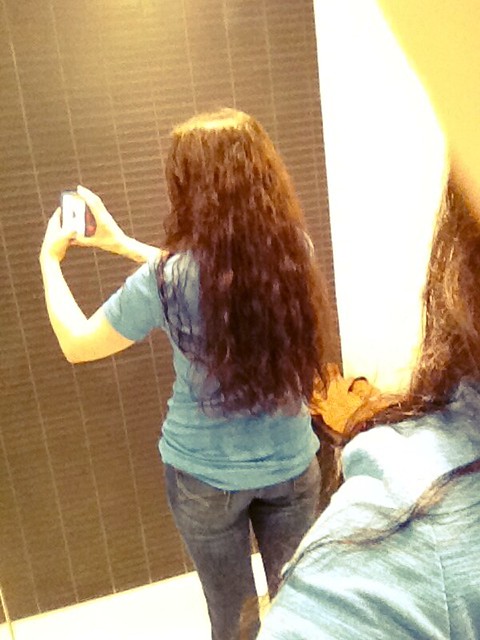
P.S.  Look how long my hair is now!  I actually think I want to cut it all off.  It’s annoying and gets caught on stuff, and one time a woman on the subway actually grabbed a handful of my hair by accident.  Ugh.  But here’s proof that I have super long hair.

shirt back

The end.
Sunday
May062012

iPhone Cross Stitch

So, you guys.  I was reading Regretsy (do you ever check out that blog?  some super funny and disturbing shizz) and they linked to a cheap-ass cross stitch iPhone case.  $5.  I couldn’t believe it, and I sure as hell couldn’t pass it up.  I also bought some cheapie iPhone cables and wall plugs, because I’m really nice like that.

Anyway, when the case got here I spent the next THREE DAYS trying to come up with a pattern.  I originally bought the pattern from Subversive Cross Stitch here, and it made me sad: the case I had was only 22 stitches wide, and that pattern was too wide to fit on the case I bought.  I thought about putting the pattern on the case sideways, but that would be weird, and the cute little motif would be hard to rearrange.

Instead, I pored through cross stitch charts and Google searches for the Taylor iPhone Cross Stitch case, hoping that someone would have either a) a chart, or b) a free pattern that I could mooch.

I found a few, but none that I loved, and I was really frustrated that I couldn’t just put my own damn text in.  I searched high and low for a stupid program that would help me come up with a design, and I found the free version of MacStitch which I tried to use, but just wasn’t helpful to me.  I guess if you cross stitch a lot it would be useful, but hey! I don’t! So it wasn’t.  

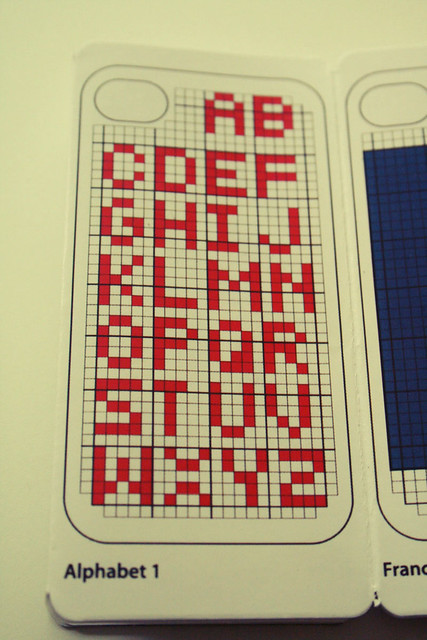
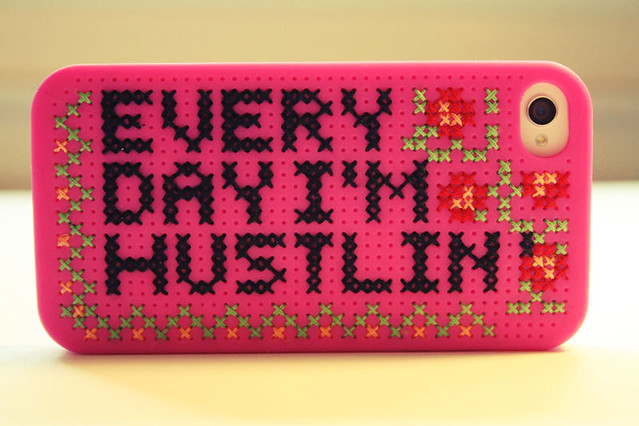
In the end, I printed out some graph paper and used the alphabet chart that came with the case.  I found a really small floral motif and just free-handed the rest of the border.  The case came with some (ugly) charts, and a needle, and 5 colors of floss (red, yellow, green, blue, and black).

The husband just mentioned to me that I could’ve used something like Excel to create the chart.  UGH.  I bet it would’ve been easy as pie, too.  So there’s a tip for you: try Excel.  You’re basically just coloring cells, right?

cross stitch iPhone chart

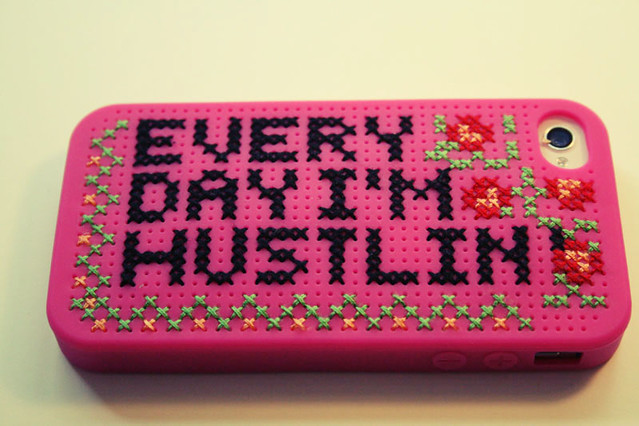
Can I say that I love it?  I mean, I want to lick this thing silly.  Also, while the case itself isn’t top-of-the-line, I think it offers reasonable coverage on the phone and it fits well.

Every day I'm hustlin'

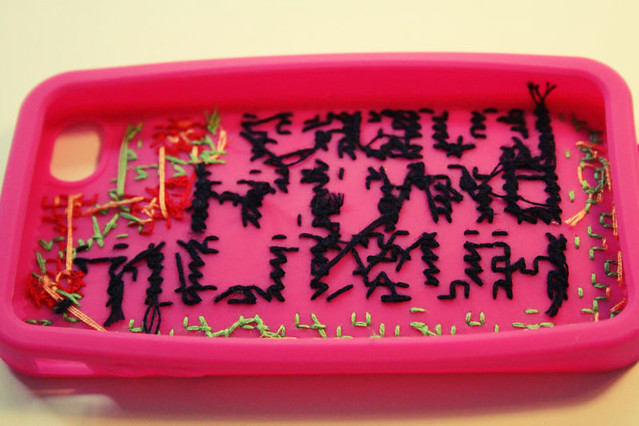
I was really careful to make sure that I didn’t pull the stitching too tightly inside and warp the case.  Also, I like that there are holes instead of a woven-type case.  The holes sealed themselves up after the floss passed through it, and I don’t think I would’ve liked the open weave of the other variety.  It is, after all, a case to protect your phone.  I don’t want holes in mah shizz, y’all.

inside stitching

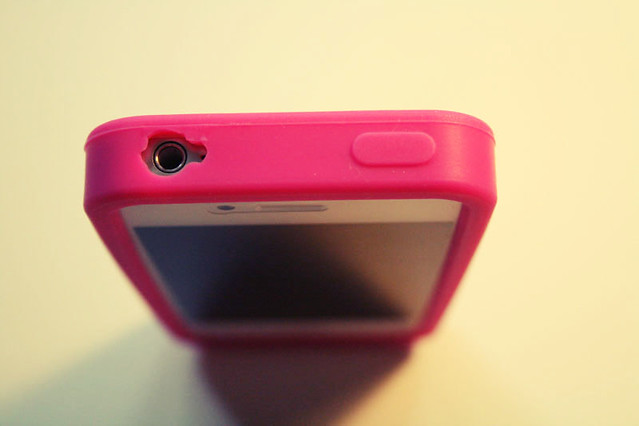
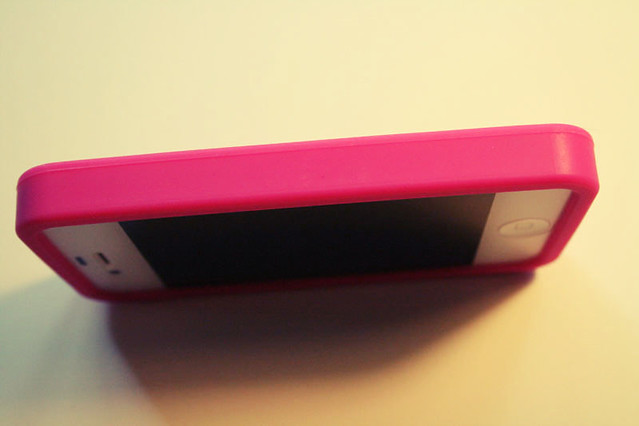
Now.  Because I’m the nicest person in the WHOLE. WIDE. WORLD.  I’m providing the chart for you to download, if you so desire.  But that’s not all.  I’m also including a free chart with the dimensions of the case, and I blacked out the camera-hole and the rounded edges on the bottom.  So you can print it out and use your own design, if you’re not into the awesomeness that I created.

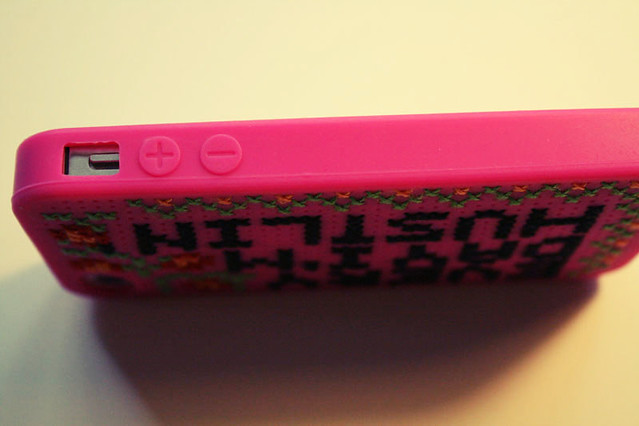
case top


case side


case other side


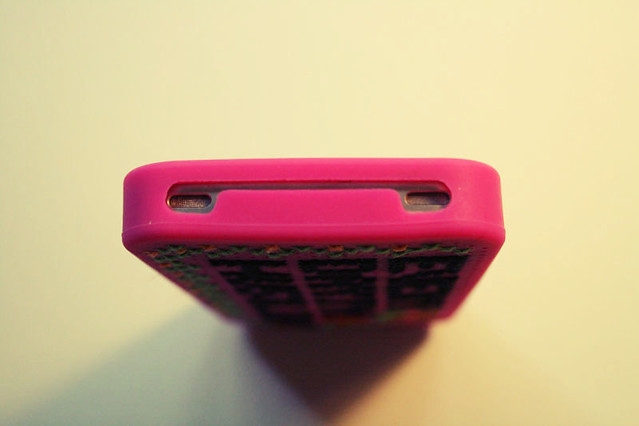
case bottom


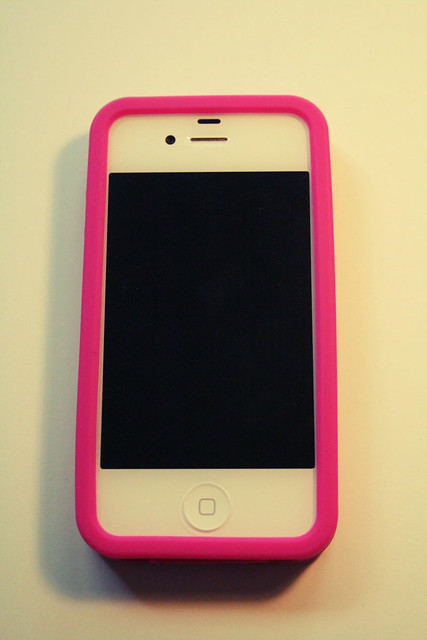
case front

I know.  You’ve probably never had the great joy of knowing someone so selfless, right?  I accept gifts in the form of baked goods and compliments.

xxoo


Download the Hustlin’ chart here

Download the blank chart here

Commence to getting your craft on.

I. Love. It.

Monday
Mar192012

DIY Laundry soap

So, I already blogged about how I made some dishwashing soap.  I know, it totally blows your mind.  I’ve made 2 batches so far: tea tree and lemongrass.  I have plans to also make Orange, using (super cheap!) essential oils from here.  I also ordered more lye from there, for quite cheap.

mah soap

Shortly after both batches cured, I decided to try to use my soap to make some laundry soap.  Previously I had used Fels Naptha, and while it worked fine I just didn’t like the smell.

The Fels Naptha bars are 5.5oz, so I used 7 ounces of my soap, just for a little more cleaning power.  I grated it up just the same, and essentially followed this recipe.  I use 1 cup of borax and 1 cup of washing soda, though, and I no longer dilute it with water — I just it full strength right from the bucket.

laundry soap

My laundry soap turned out white and creamy, instead of separated and chunky.  It has more of a laundry-soap consistency, which I think is interesting.  As far as cleaning power goes, it works exactly the same IMO.  What I love is that I can make it for pretty cheap, scent it to my liking, and use it both for dishes and for laundry.

drippy

Even if you don’t make your own soap, you should totally make your own detergent.  I can’t believe how easy it is, and it makes a whopping 5 gallons at a time.  For a family our size, we go through it pretty quickly, but I can’t imagine buying commercial detergents anymore.

little helper

So satisfying, and really thrifty.  Yay!

Friday
Feb102012

Tights refashioned

Do I ever get original ideas anymore? I guess not. Another amazingly genius idea from Pinterest: cut off the legs of old holey tights, and sew some women’s knee-high socks in their place. New tights without having to spend $4-6 for them.

tights + socks = win

I think I’ve mentioned that my girls practically live in skirts, and I’ve had to throw out countless pairs of tights that were unsalvageable. I found a pair when doing the laundry that had one giant hole up on the thigh, and figured I’d test this idea out.

tippy toes

The older sis donated a pair of knee-high socks that she doesn’t really wear anymore, and the girls are pretty thrilled with the results.

tops

The feet that I cut off the tights were still usable, so I just cuffed them and turned them into sort-of boot socks. I kind of can’t wait until they get more holes in their tights.

tights leftovers = boot socks

Full tutorial from Choose to Thrive.

Wednesday
Feb082012

Hama bead earbuds

I saw this adorable project and lo and behold: I had a huge tub of those beads sitting right next to me on my desk. The girls love making those peg-board projects where you iron the beads to fuse them together. You know what I’m talking about? I’ve seen them called Perler beads and Hama beads, maybe it’s a brand-name thing. I don’t know, but I can tell you that this was fate. I had to do this project.

beaded headphones

I didn’t have any cuticle scissors, so I just started chopping away at those things with a box cutter. Okay, that sounds terrible. I was careful, I promise.

split

I thought the project would be easy, but it was a pain to cut those little suckers open, and shoving them onto the headphone wire was a nightmare. I used a very skinny paintbrush to help: I cut the bead, poked the paintbrush into the center to open it, and then slid it on to the headphones. At the end of the whole thing, though, I was a total pro at it.

skull candy up in heah

Super fancy!